Decorative Concrete
DECORATIVE CONCRETE
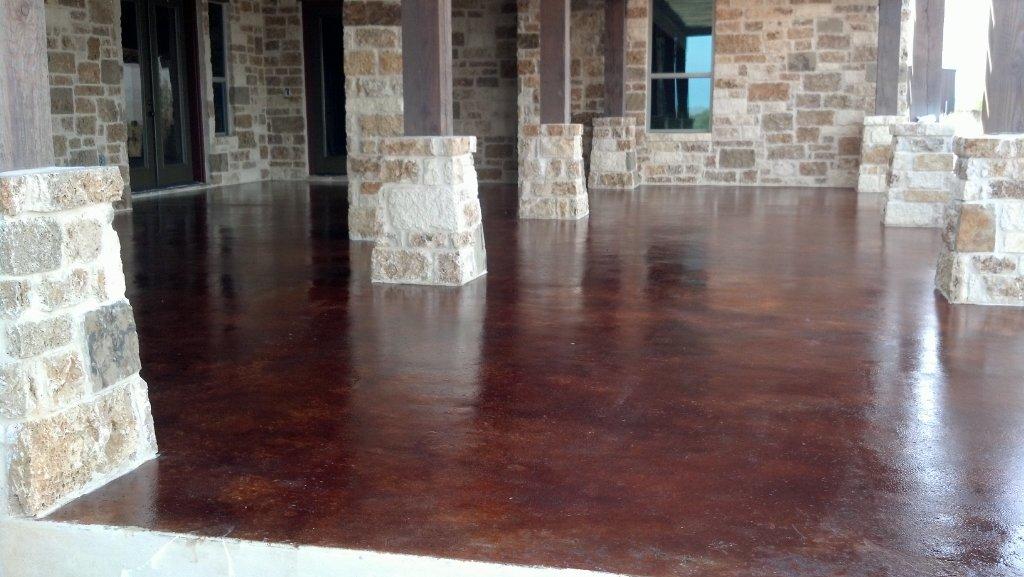
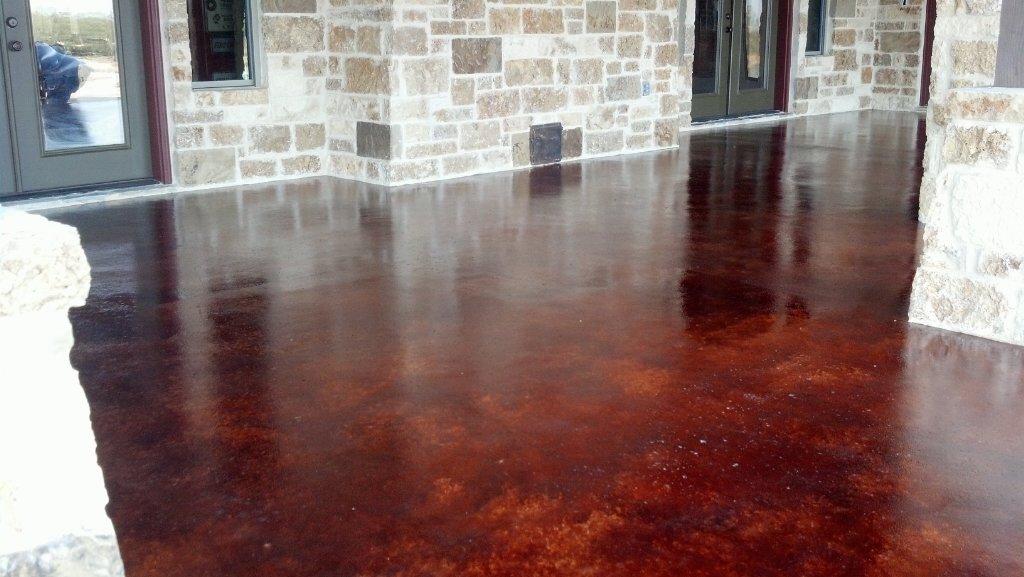
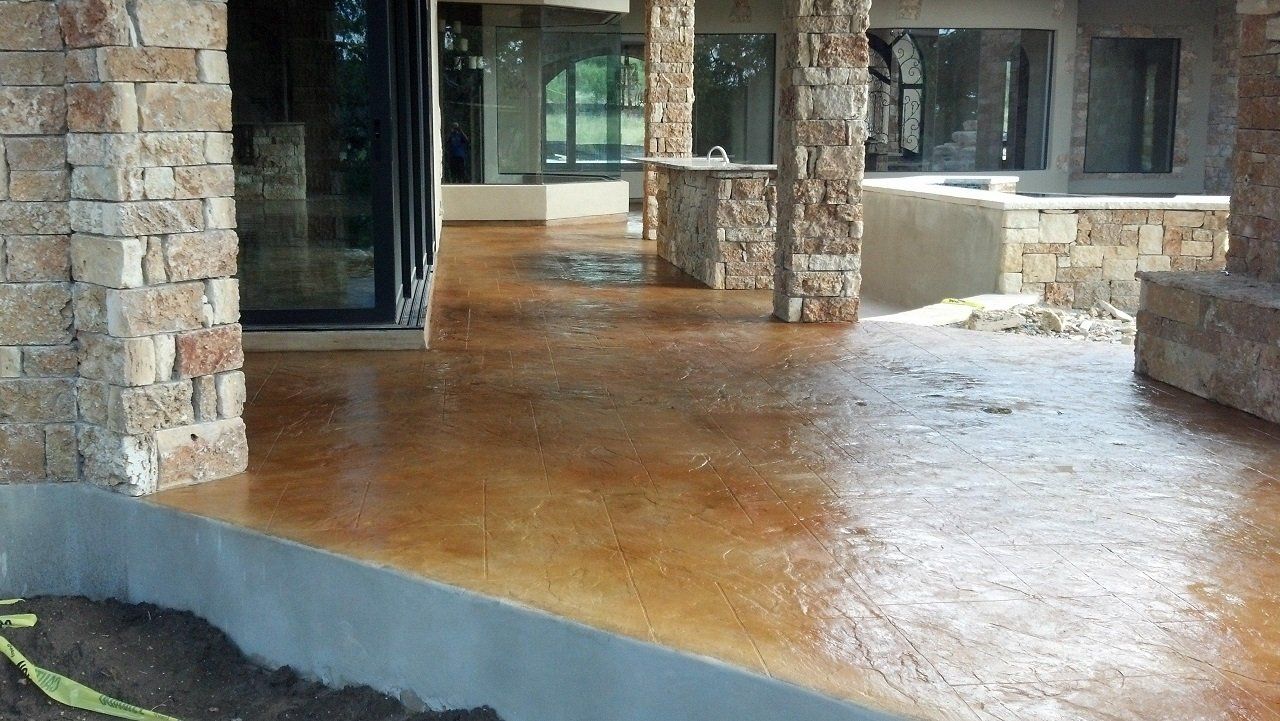
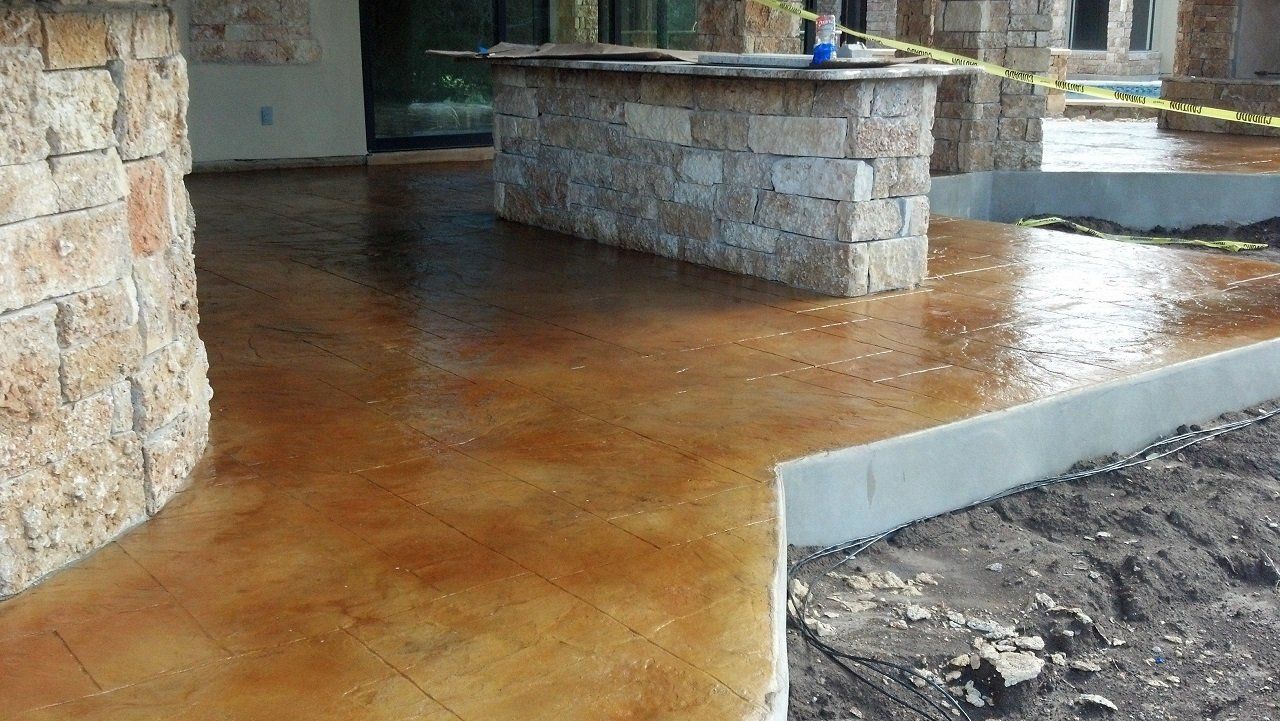
Tired of boring or ugly concrete? No worries! At Easter Concrete Contracting
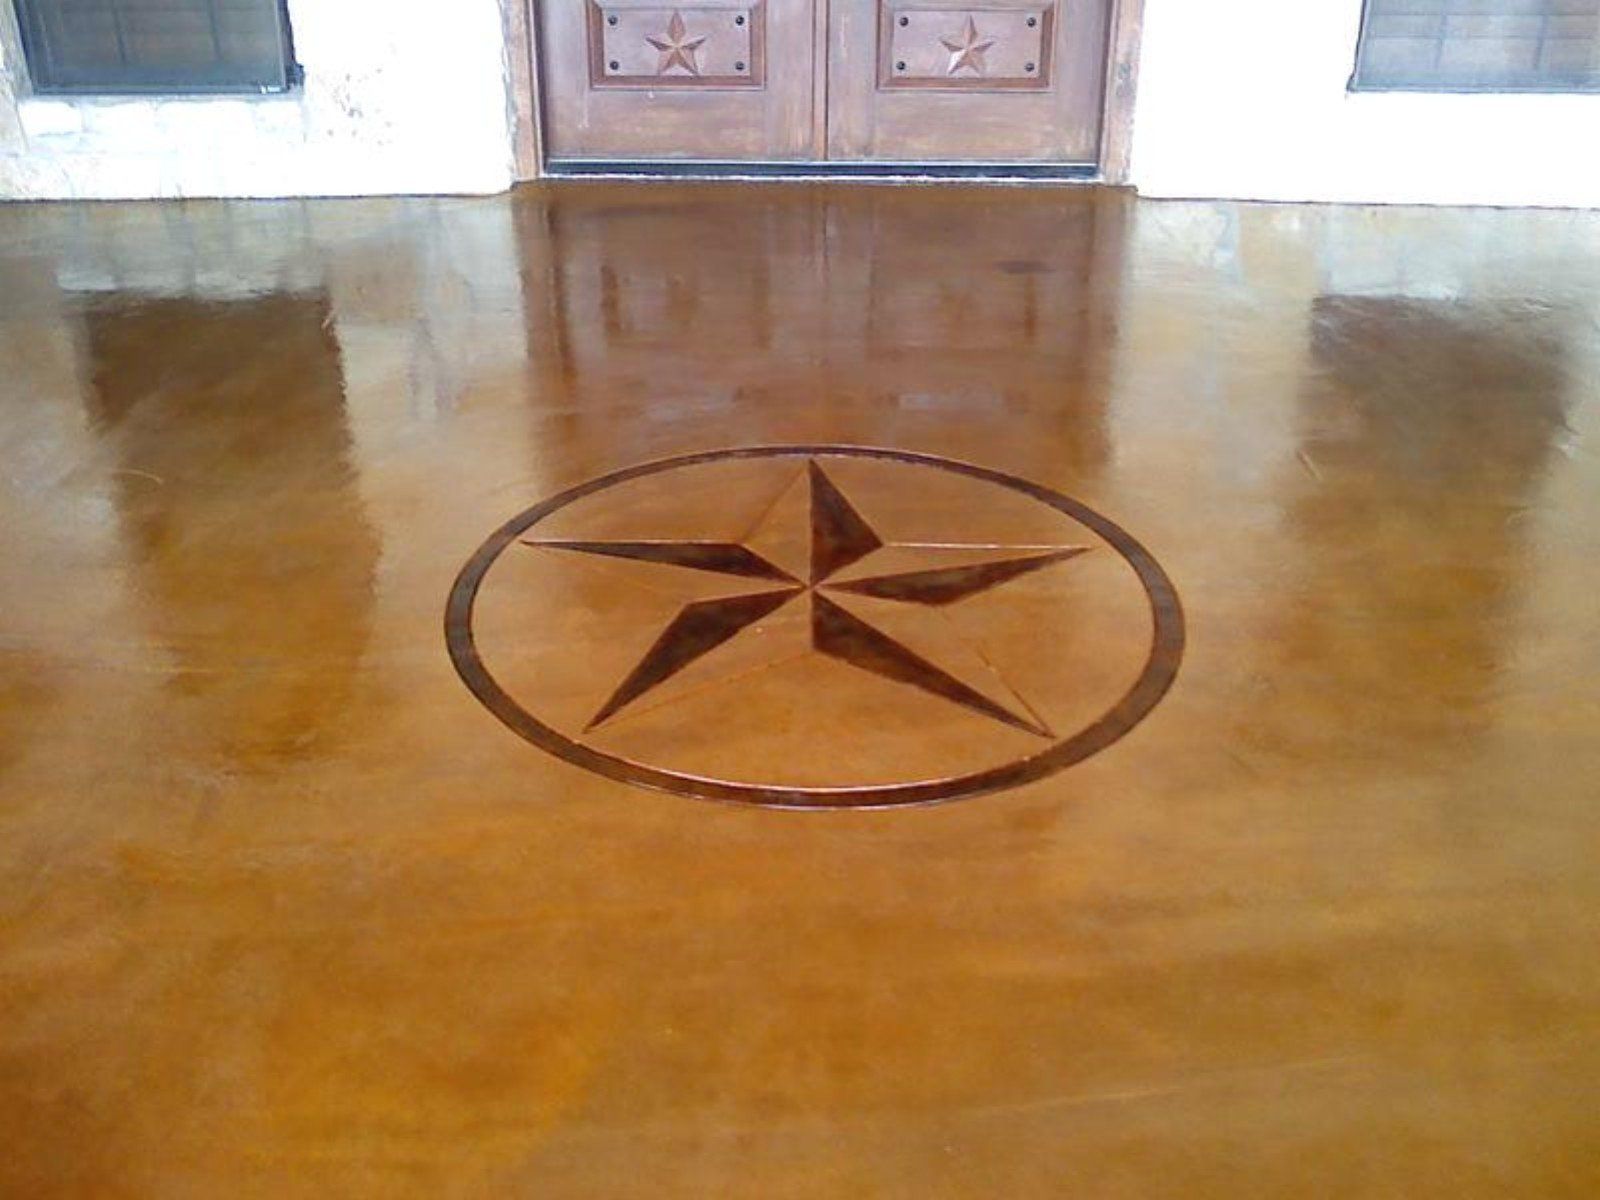
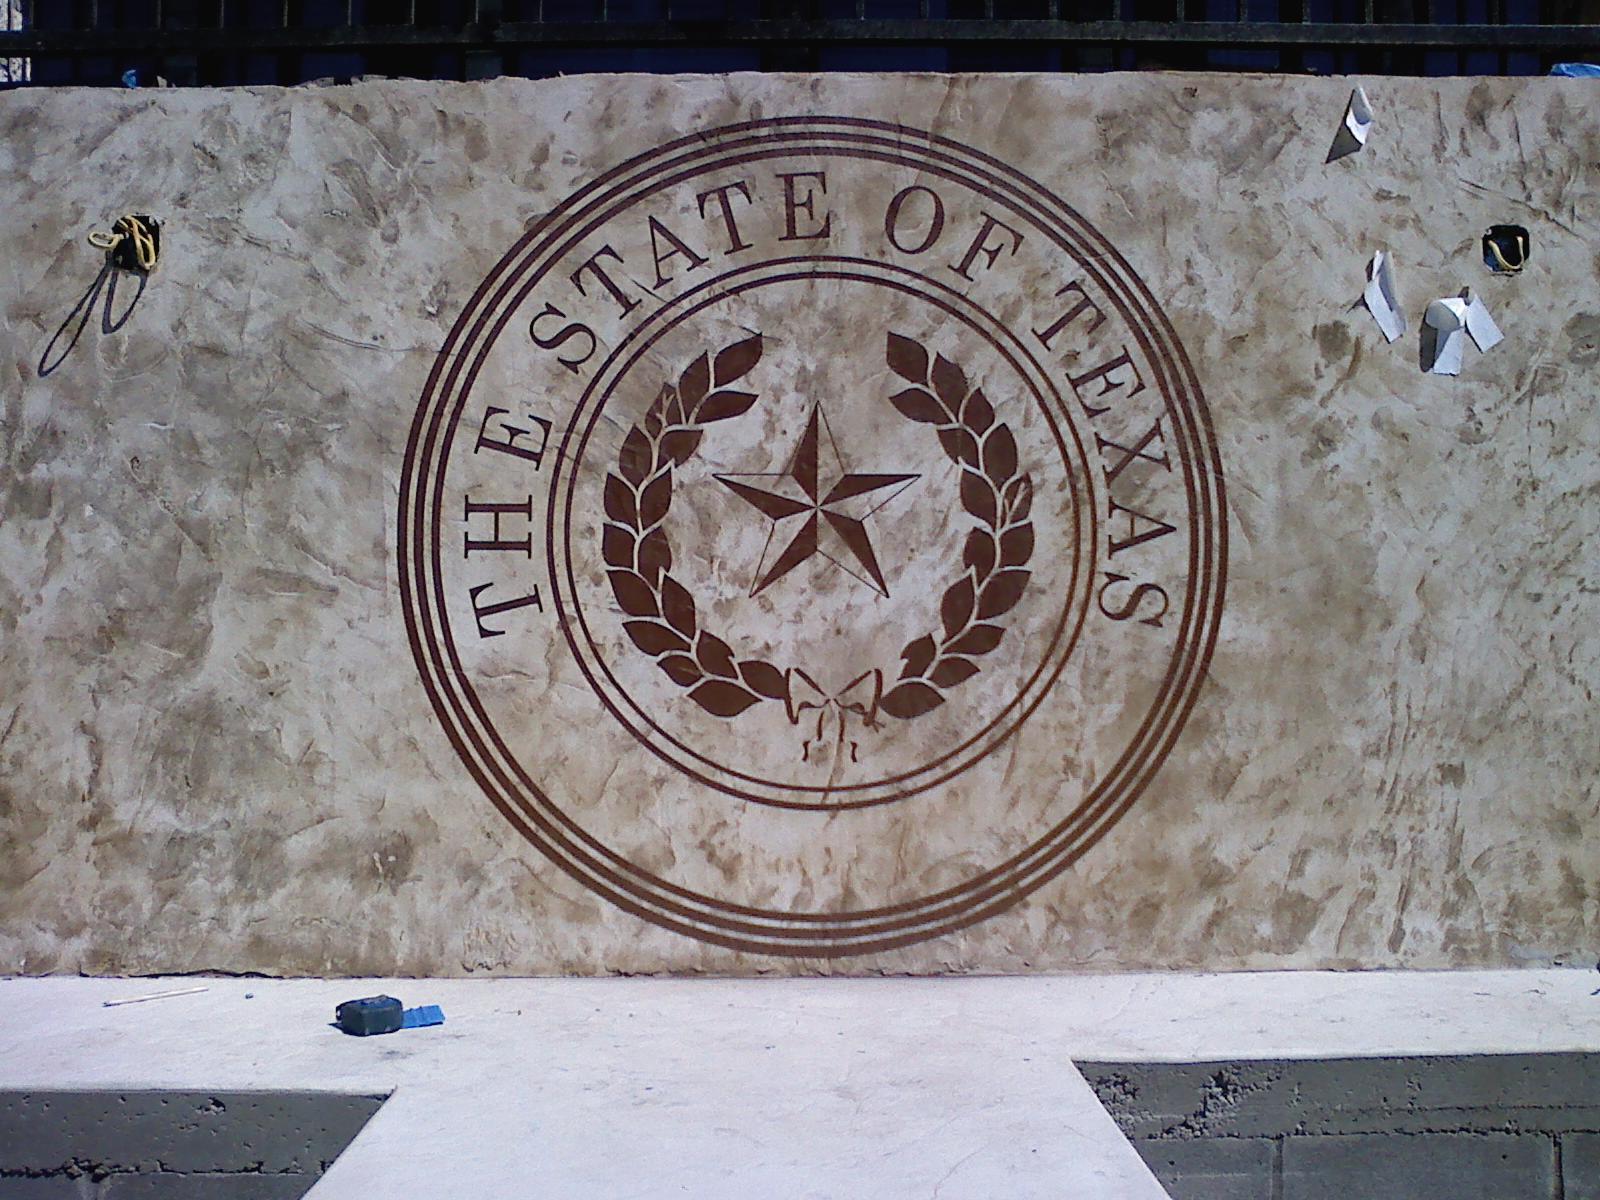
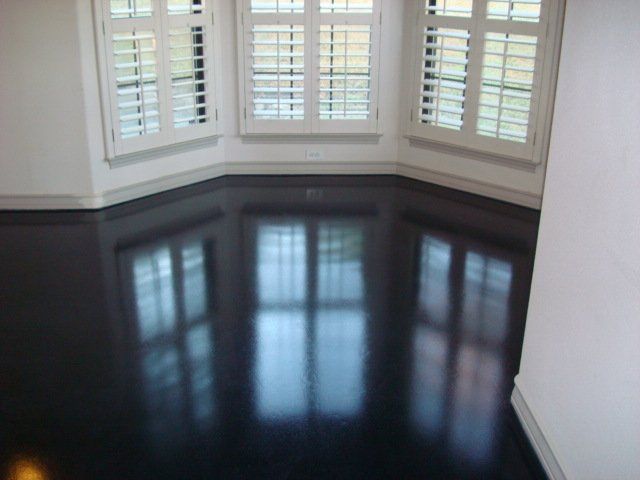
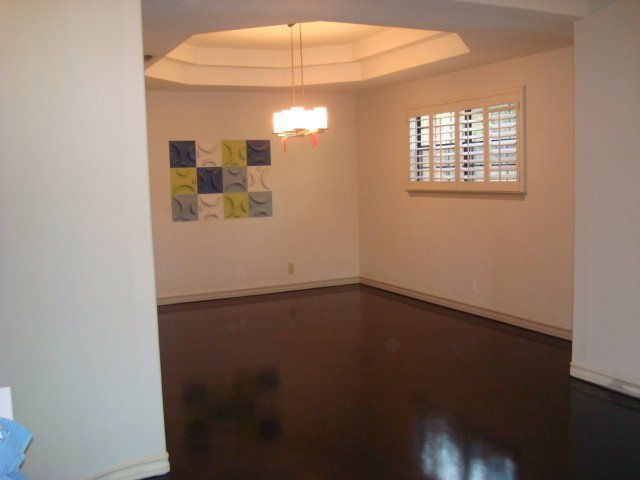
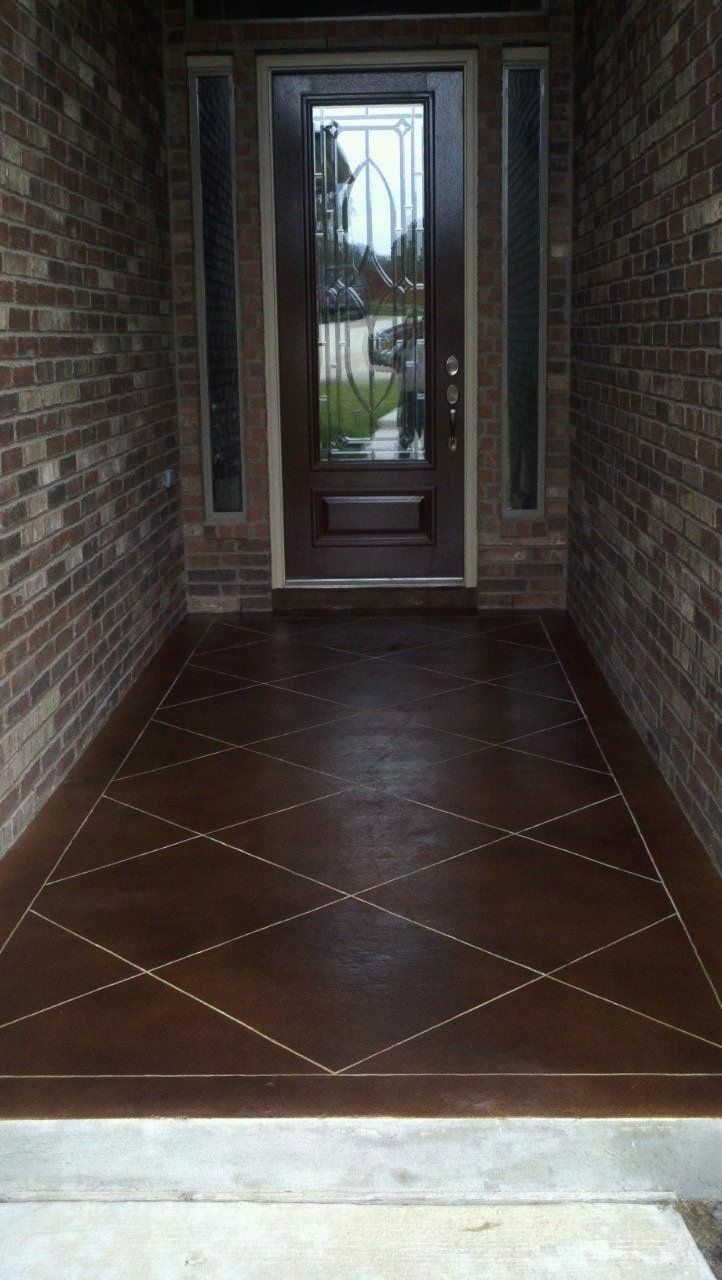
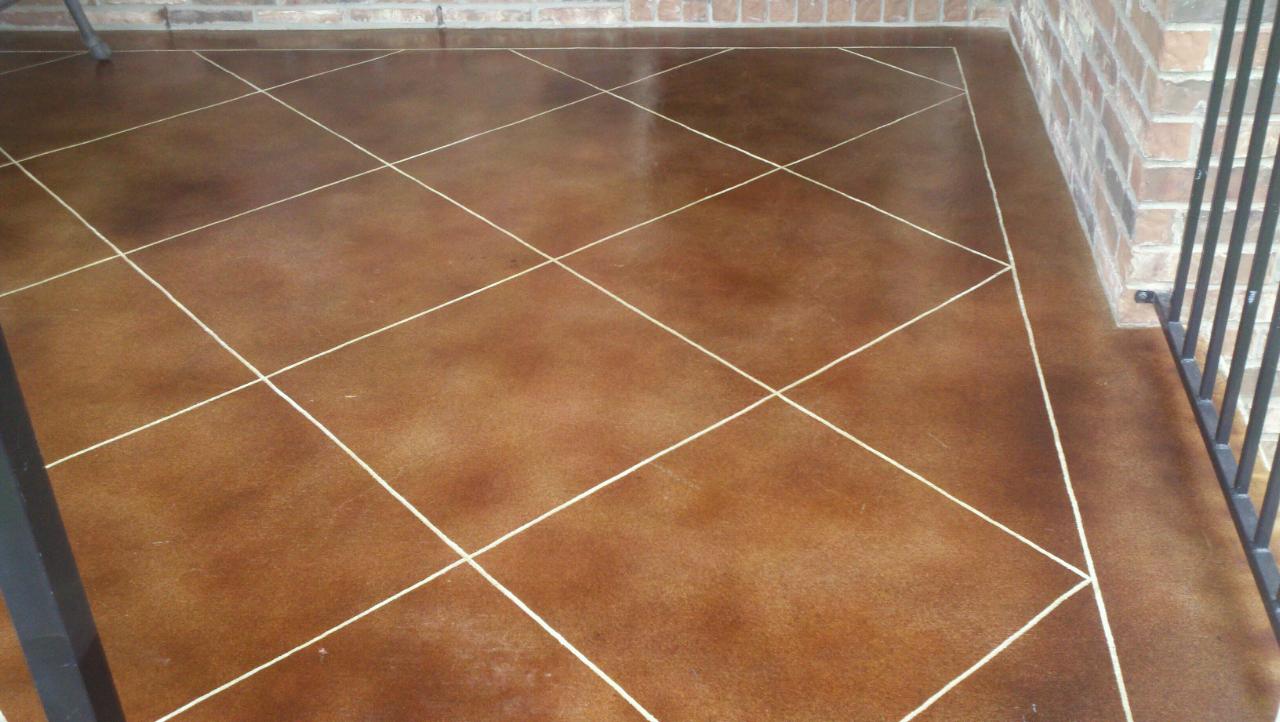
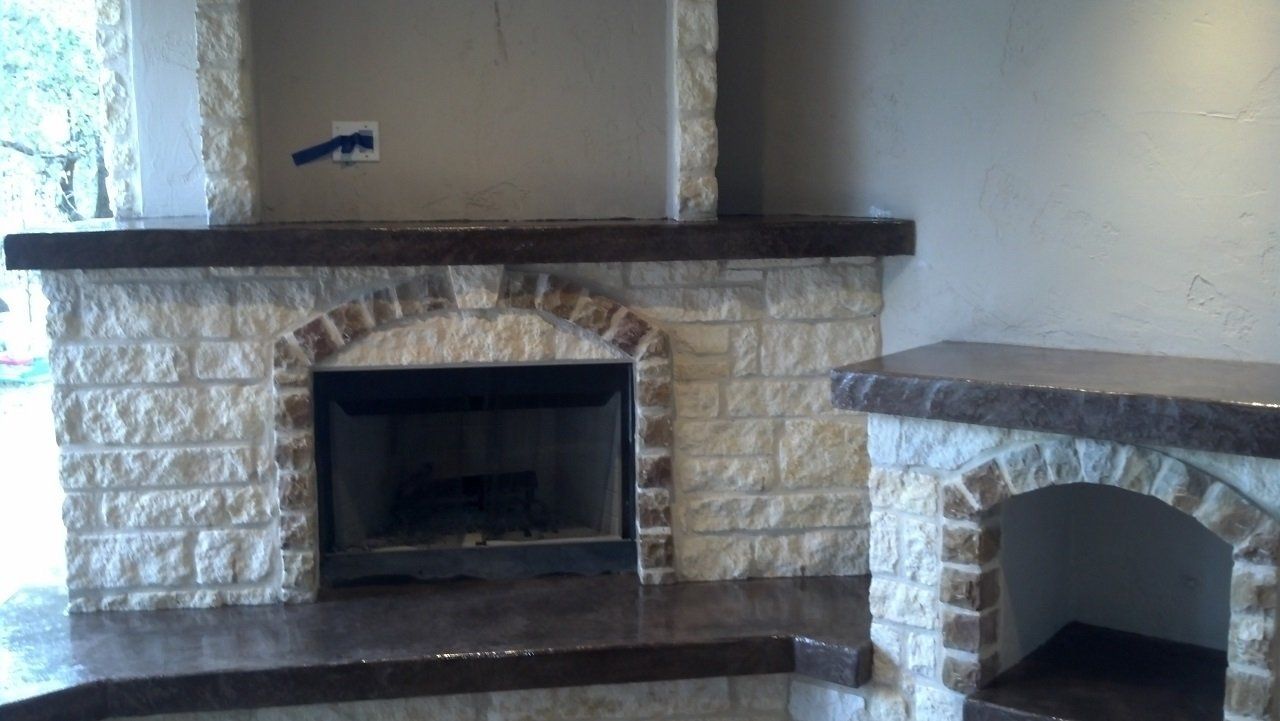
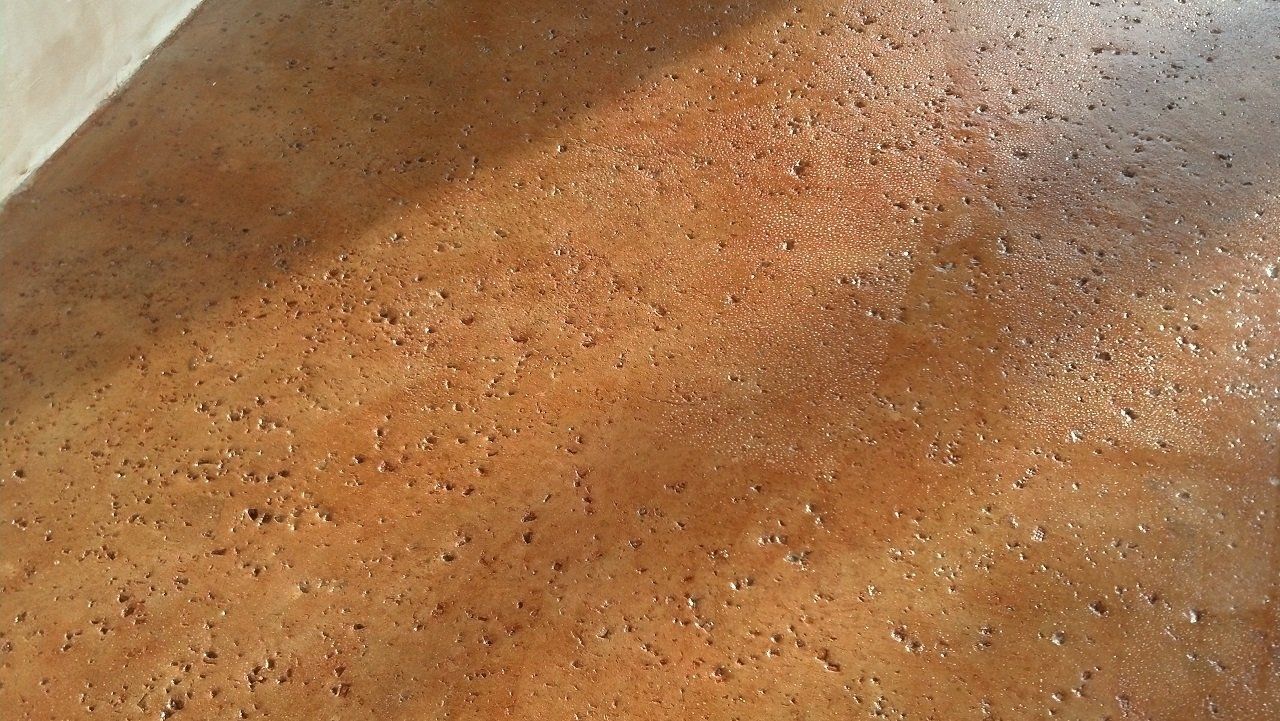
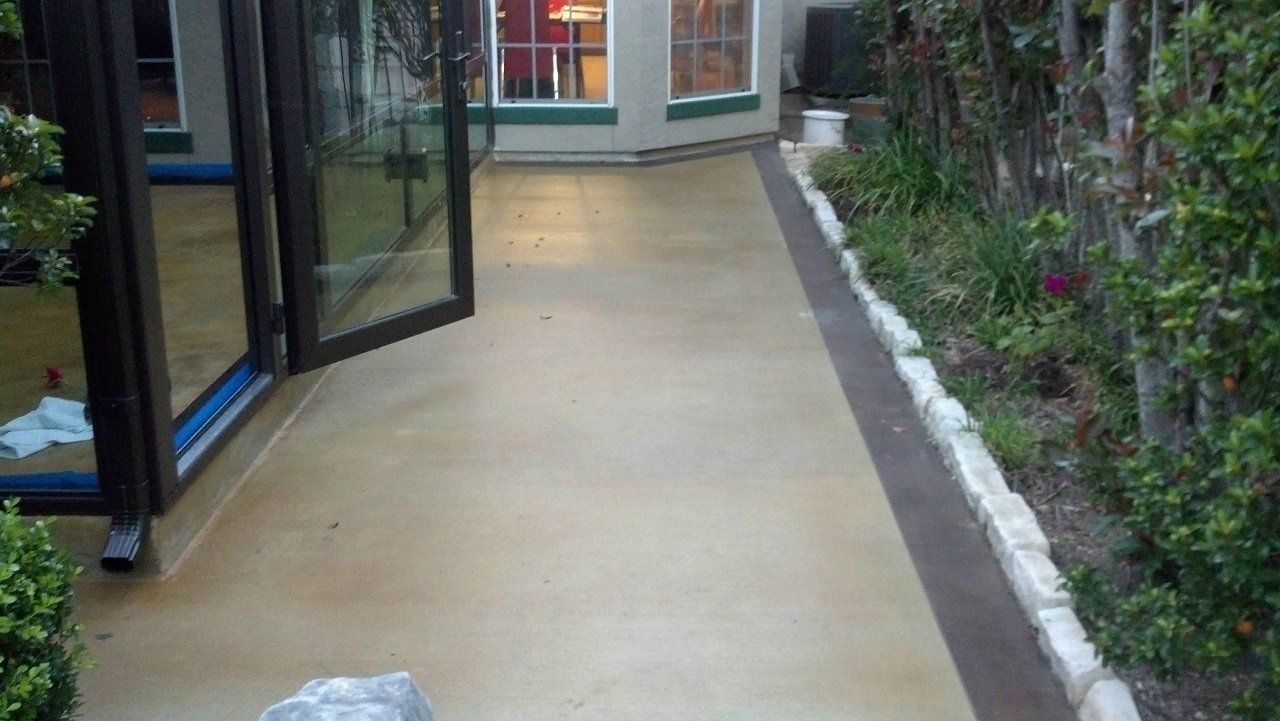
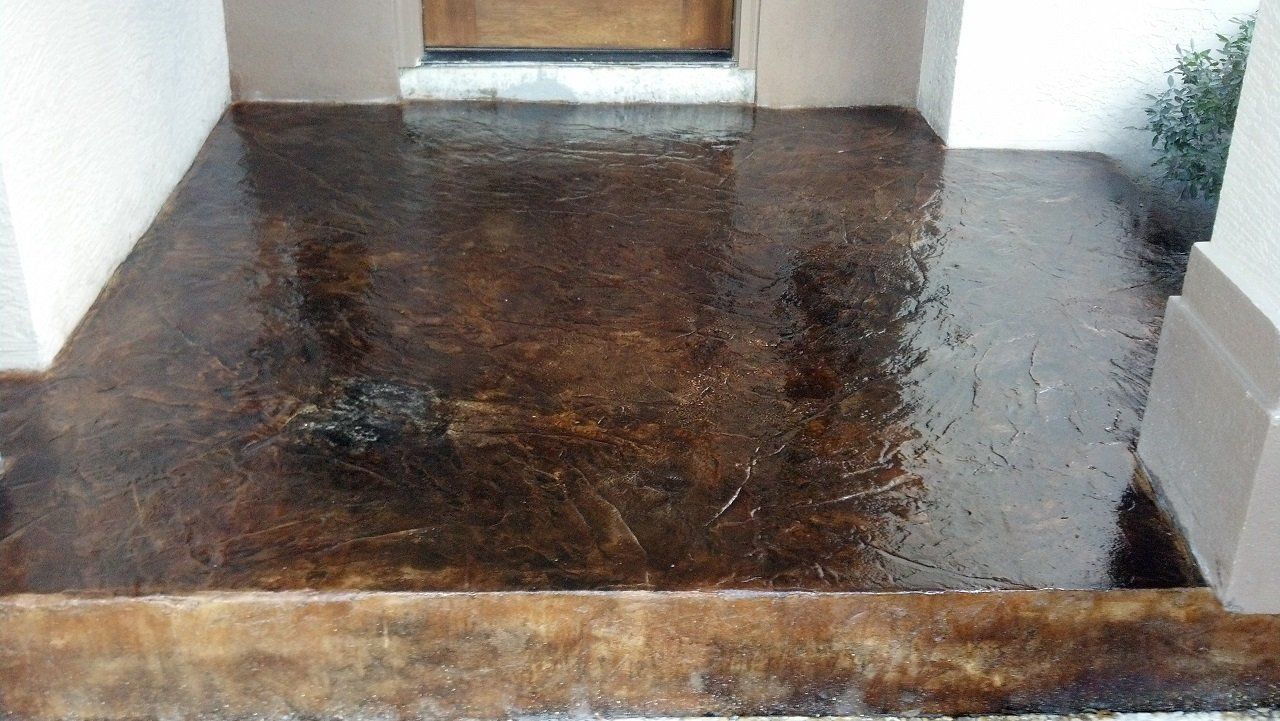
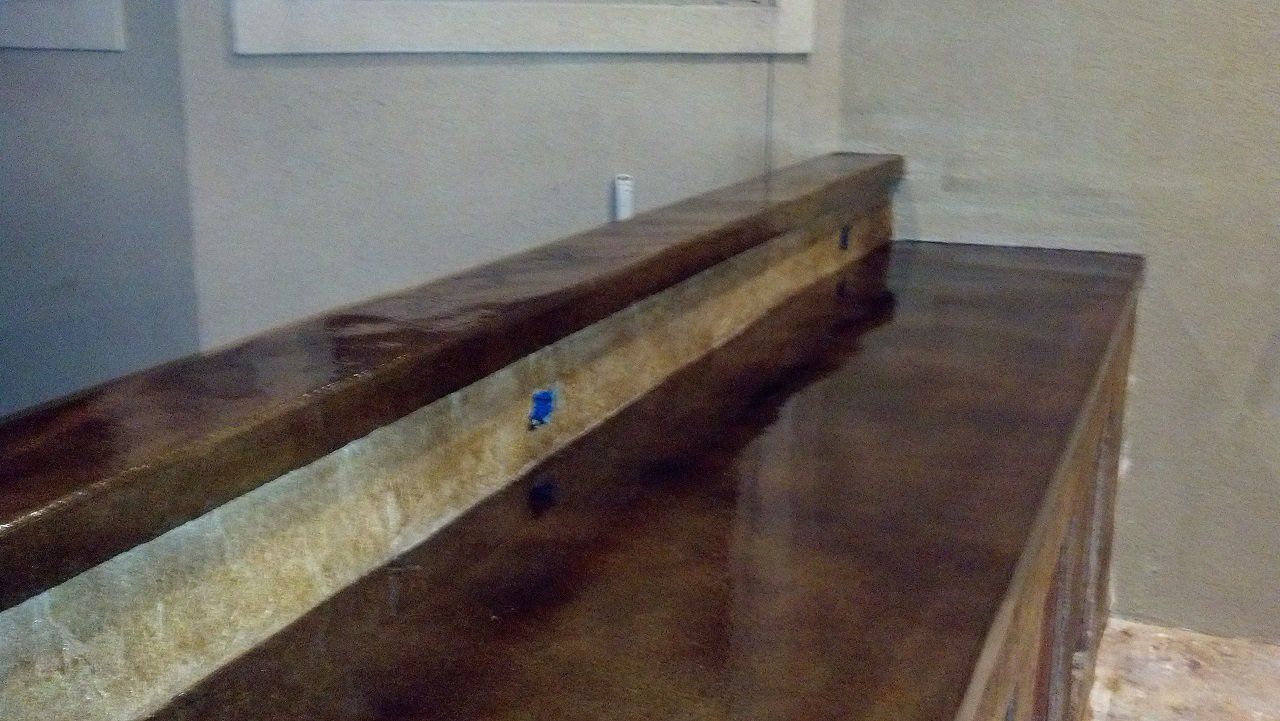
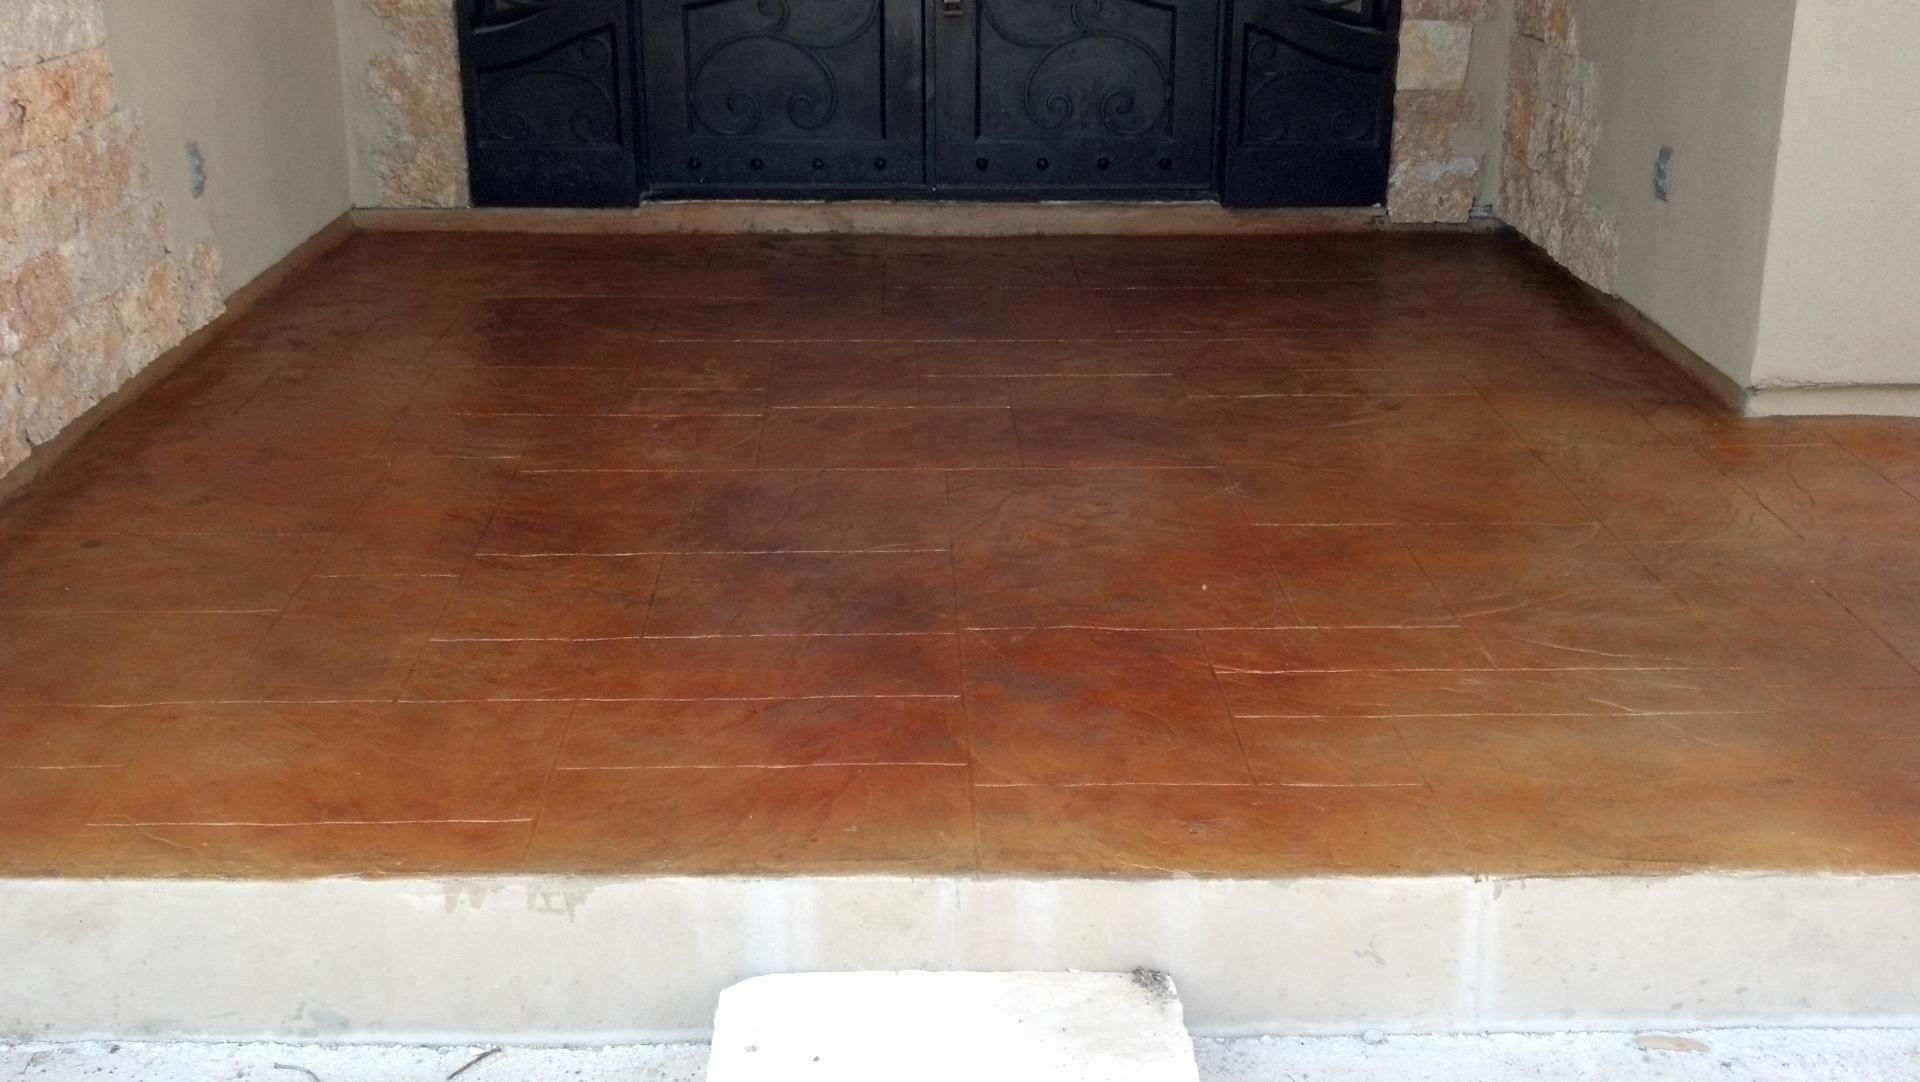
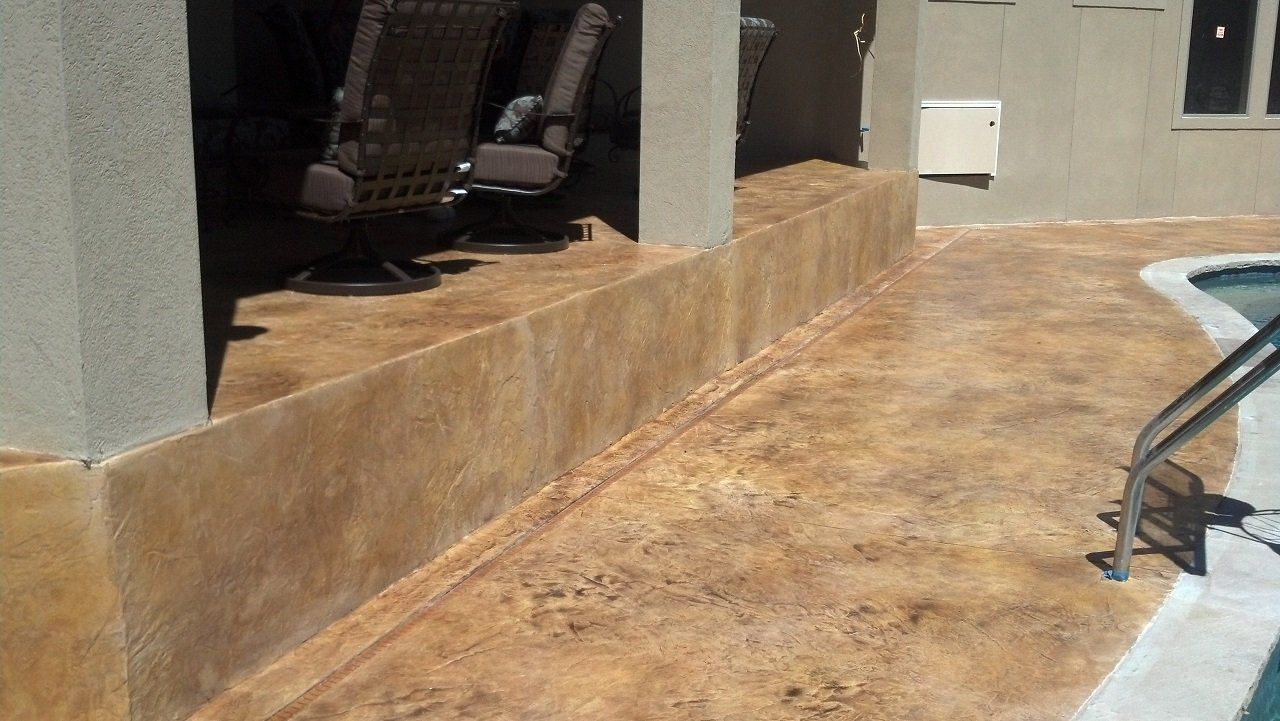
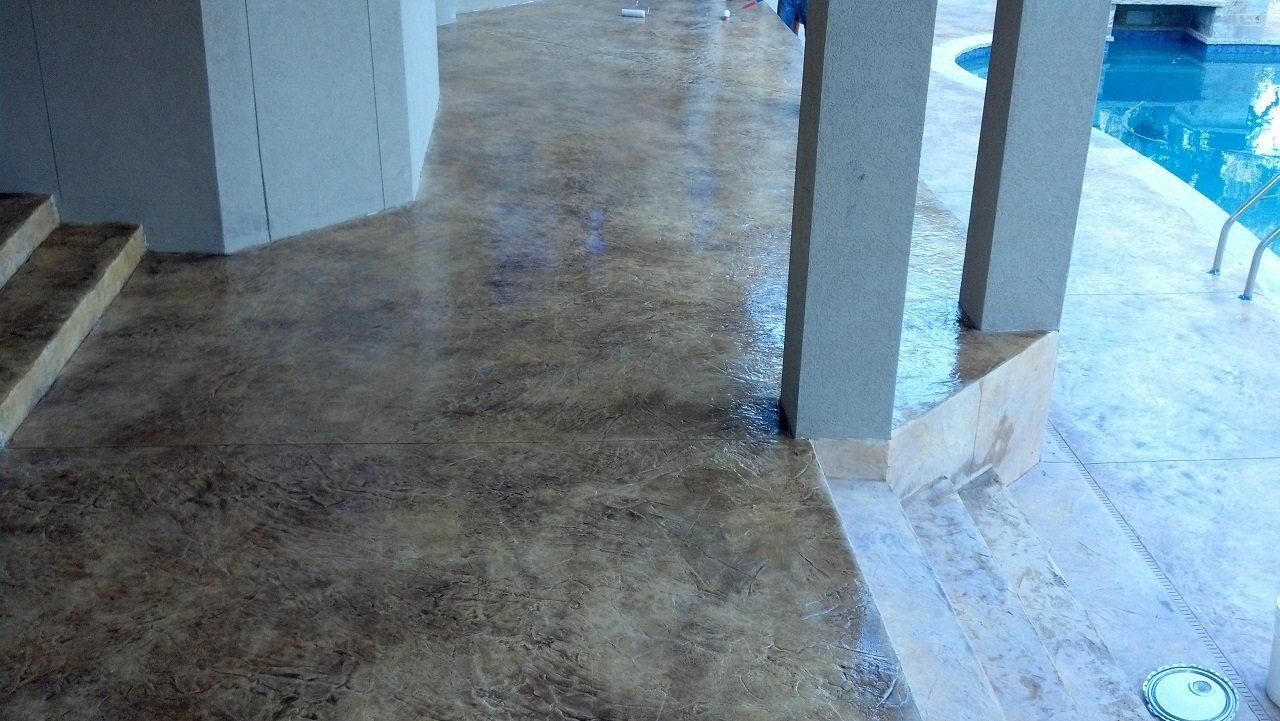
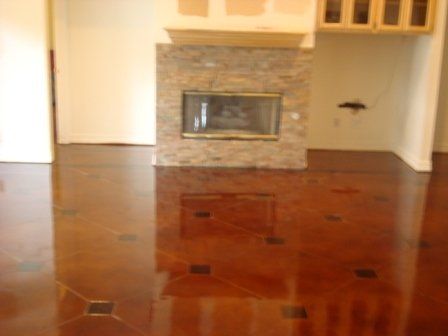
we can transform an eyesore into a beautiful work of art. To our professional team your floor is a blank canvas awaiting its final touches. With so many possibilities and options, Easter Concrete Contracting can artistically execute a design style to suit your home or business. Call today to speak with a professional about a free quote. Picasso is just around the corner!!
CONTACT US
Contact Us- Decorative Concrete
Thank you for contacting us.
We will get back to you as soon as possible.
We will get back to you as soon as possible.
Oops, there was an error sending your message.
Please try again later.
Please try again later.
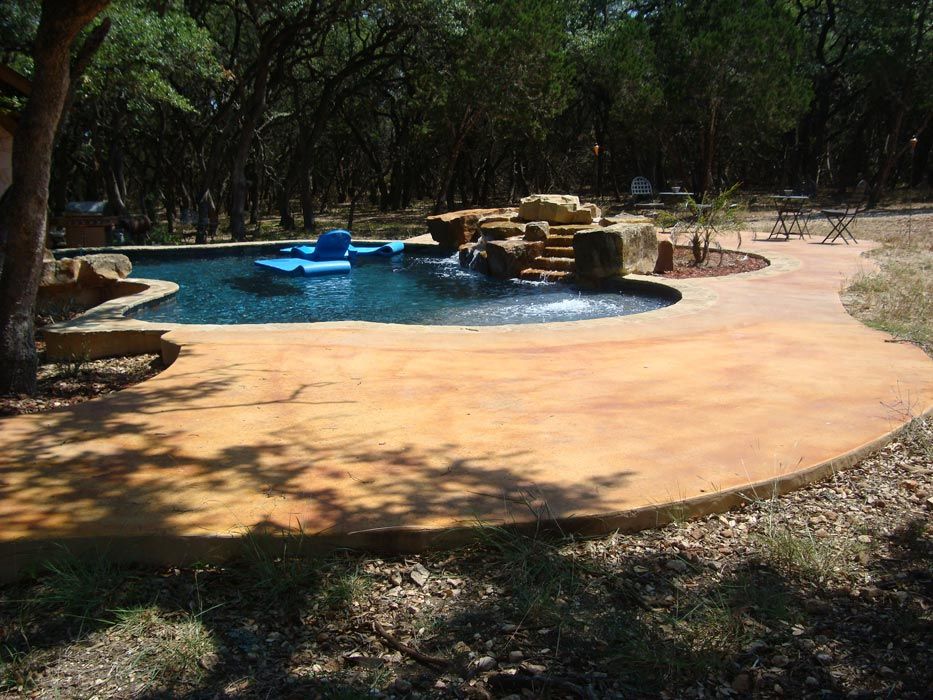
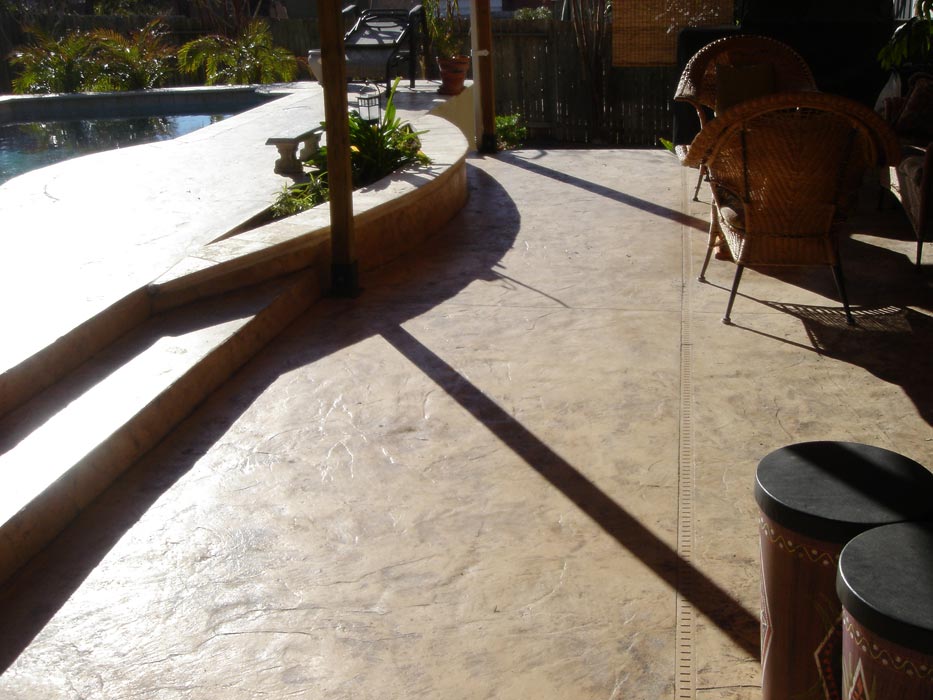
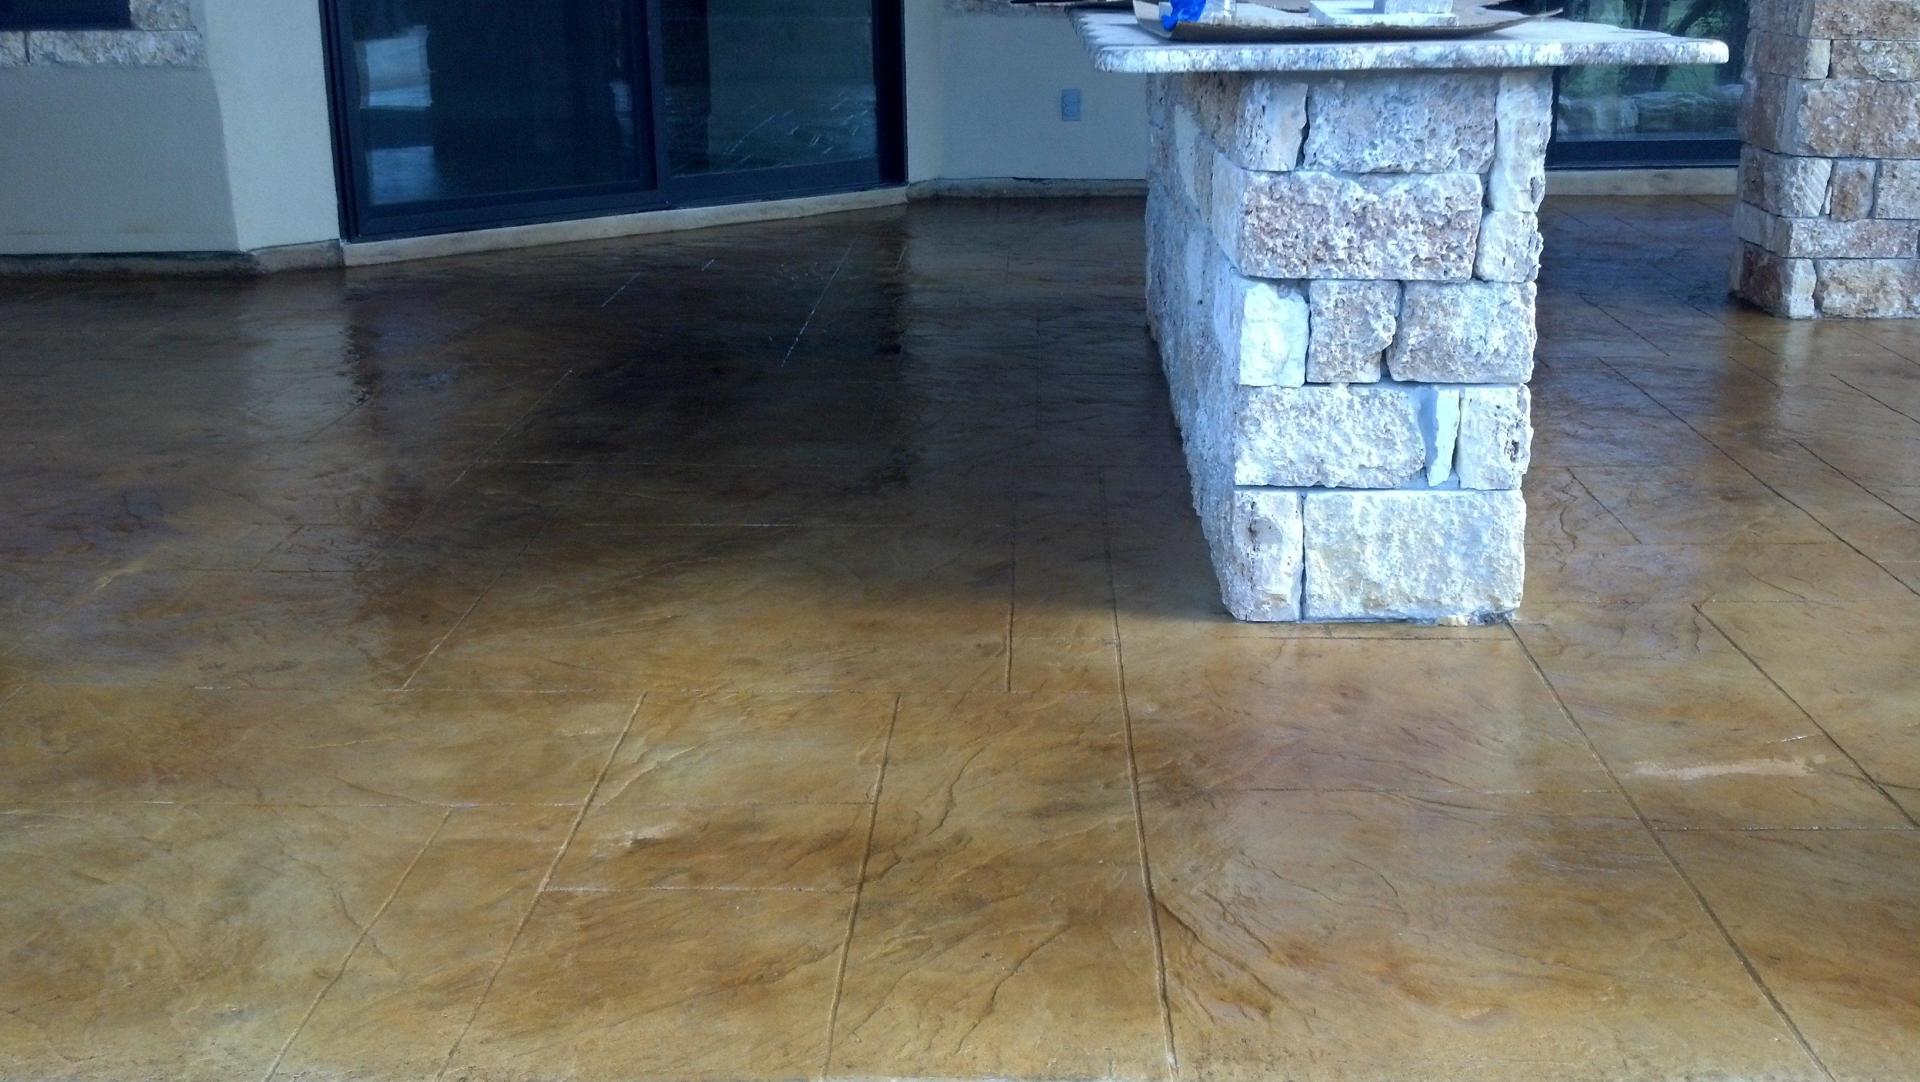
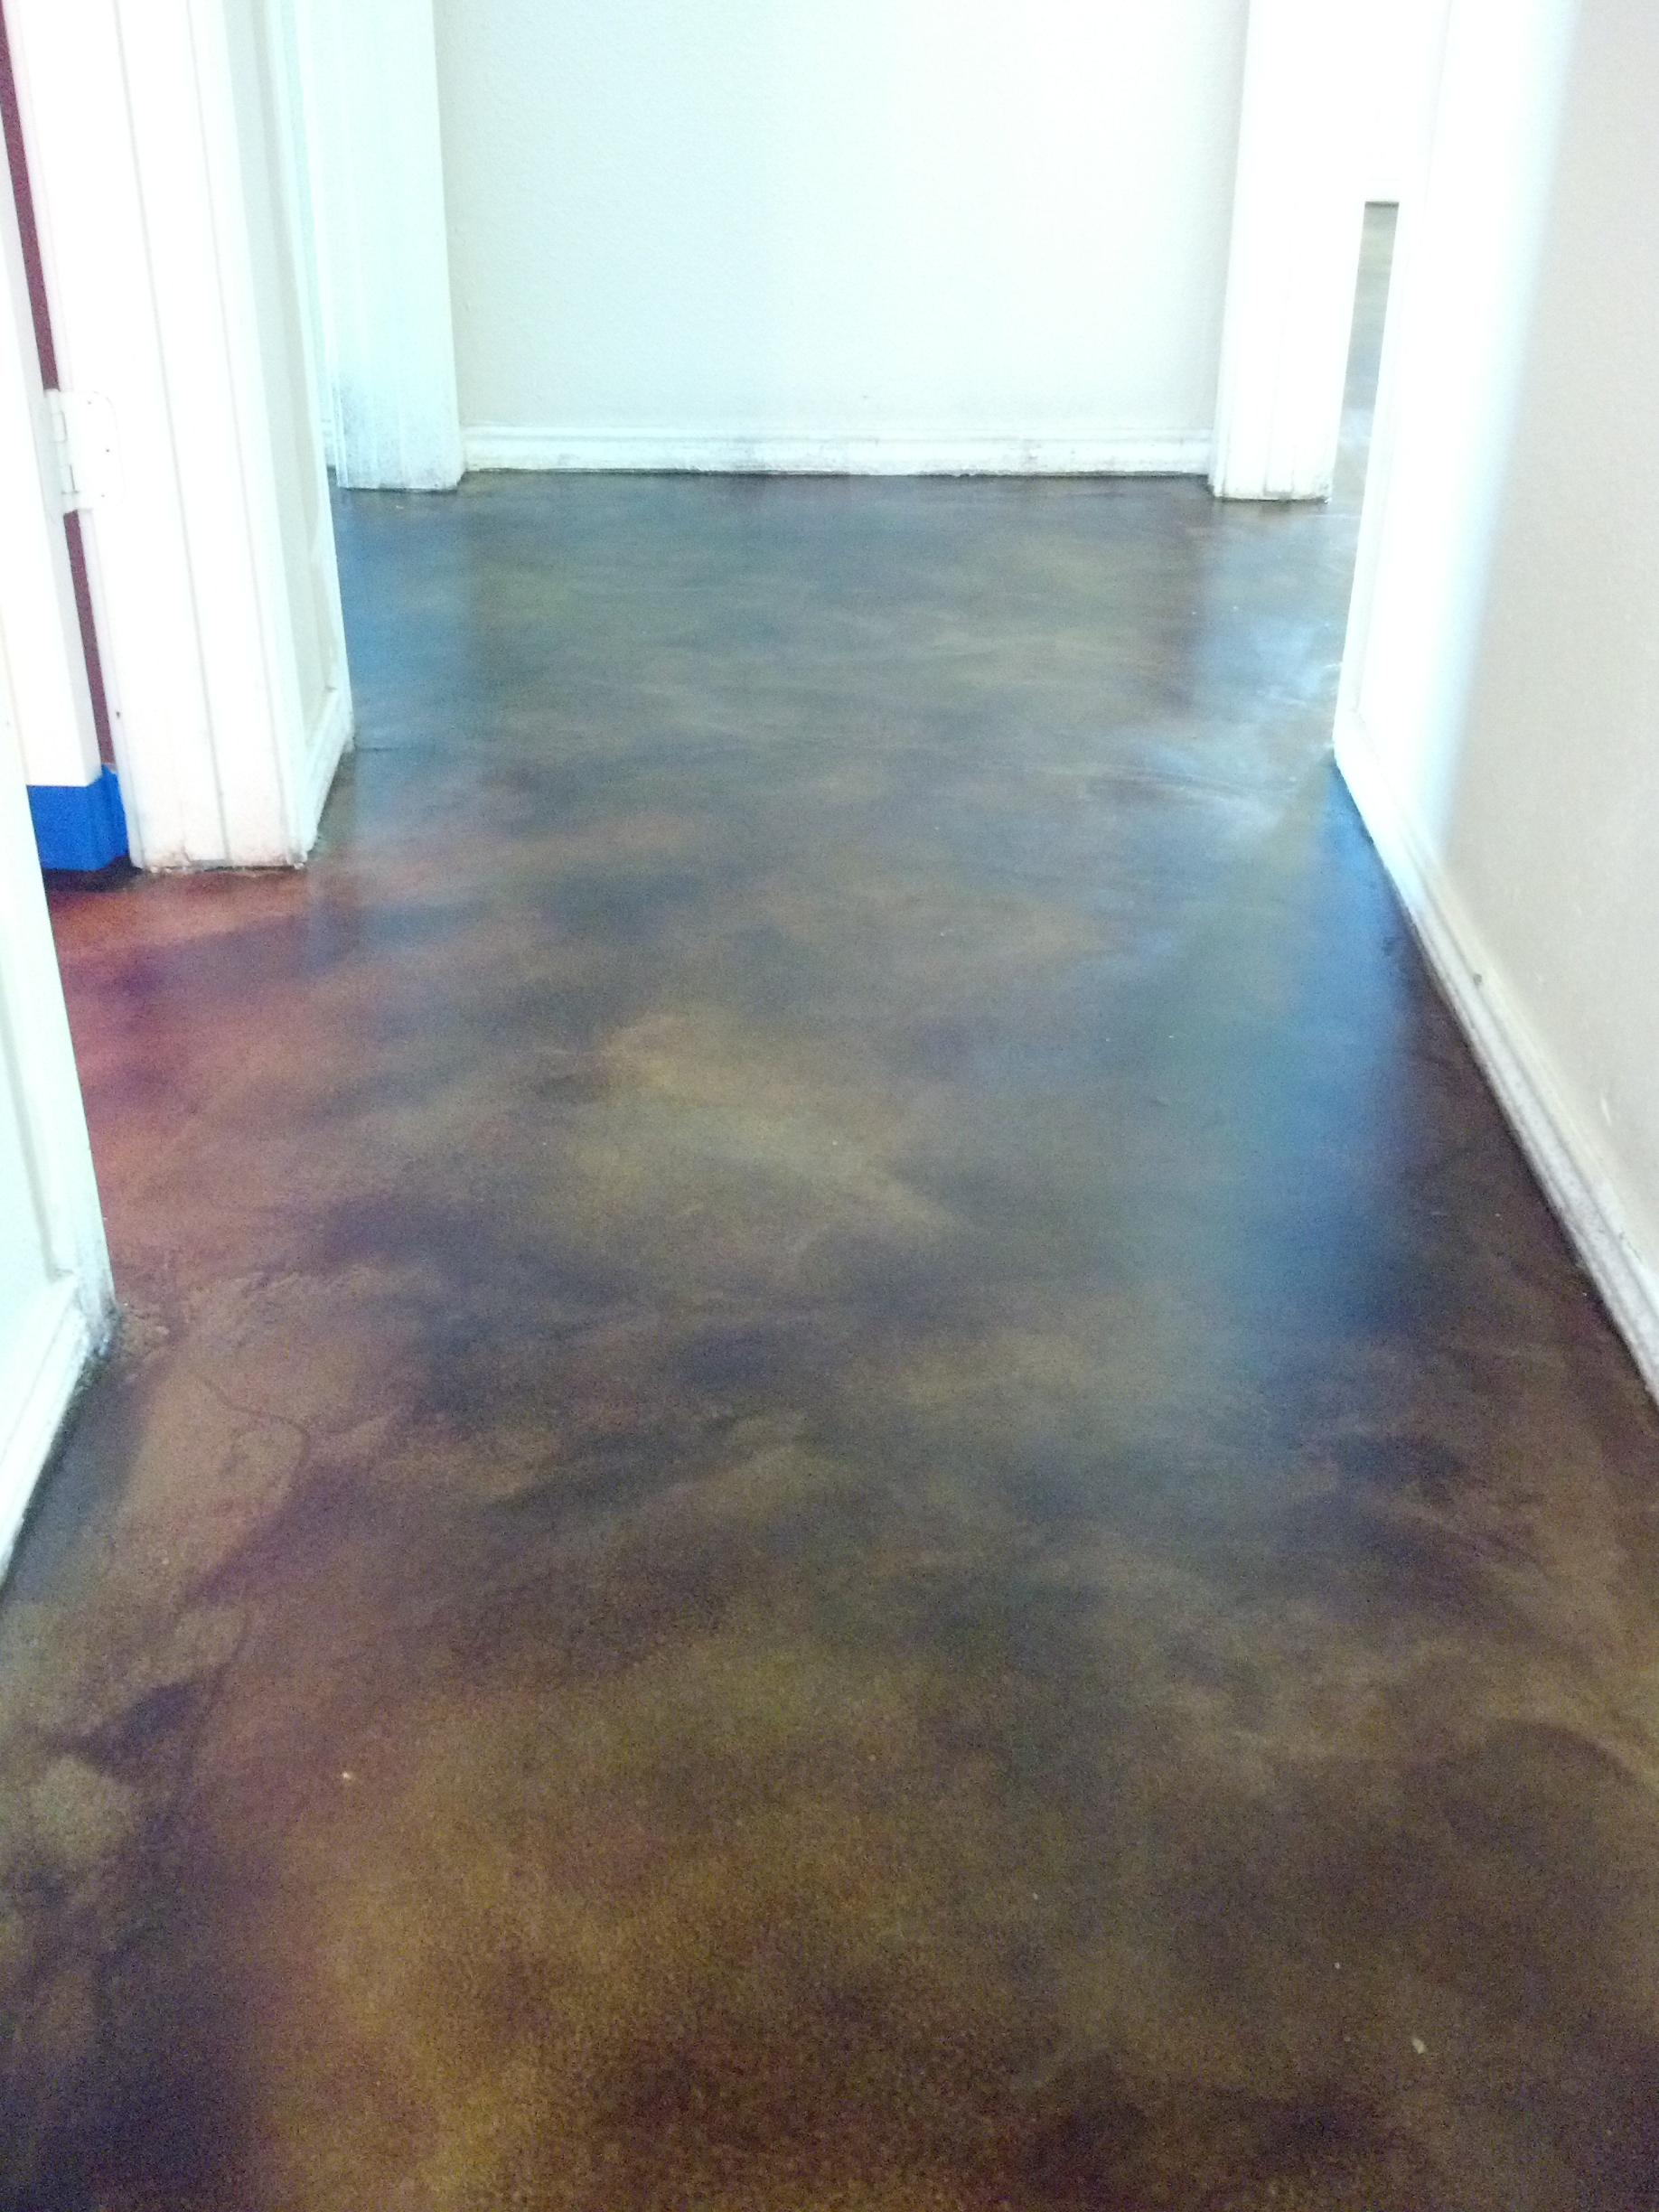
Click on Image to Enlarge
Tips on Decorative Concrete:
5 Steps of Concrete Floor Restoration
Chips and cracks in your concrete floor actually provide an opportunity for redesign! With colors and stamping, you can turn problem areas into beauty. Easter Concrete Contracting provides quality service and affordable pricing to assist you in this process. Here are 5 necessary steps of concrete floor restoration.
1. Identify the Area
Large or small, the area in need of concrete floor restoration must be marked out. Measuring, marking, and repairing problem spots ensure that the same issues don’t come up again. At this stage in the process, you can also decide on what colors or designs you want for your finished floor. We provide any stamping designs you could desire, with versatile solutions for both inside and outside your home.
2. Prepare the Area
At this stage, loose pebbles are removed. Cracks, chips, or holes are made more susceptible to the pouring process. Before the concrete is applied, a layer of water is poured over the intended area to help the concrete settle in.
3. Mix and Pour
We mix the concrete with a special polymer to help it adhere to the surface. Colors may be mixed with the concrete during the mixing stage to suit your design focus. The mixture of concrete and polymer seeps into your problem areas, and we spread it evenly for a good surface.
4. Drying and Stamping
As the concrete dries, your new floor becomes more of a reality with every passing minute. If you choose decorative stamping for your concrete floor restoration project, the stamps are applied after the wet mix has dried enough.
5. Finishing Touches
Once the concrete has dried, your new floor is almost ready. Any jagged edges need to be chipped or sanded down, and we need to make sure the area is level and safe. The application of a glossy finish, clear or colored, provides you with yet another option to customize your home.
Once everything is finished, you are left with a gorgeous, durable floor. Concrete floor restoration transforms your home while solving any problems you may have. Easter Concrete Contracting will be there every step of the way to ensure your satisfaction.
How Concrete Designing Helps the Environment
People focus so much on the beauty of stained concrete that they often fail to realize that concrete designing helps the environment. This durable product is the utmost in green as it outlasts regular floor coverings and is easy to maintain. Even more important, concrete uses abundant natural material, is produced locally, and creates minimal waste. This product is good for the planet.
Beauty
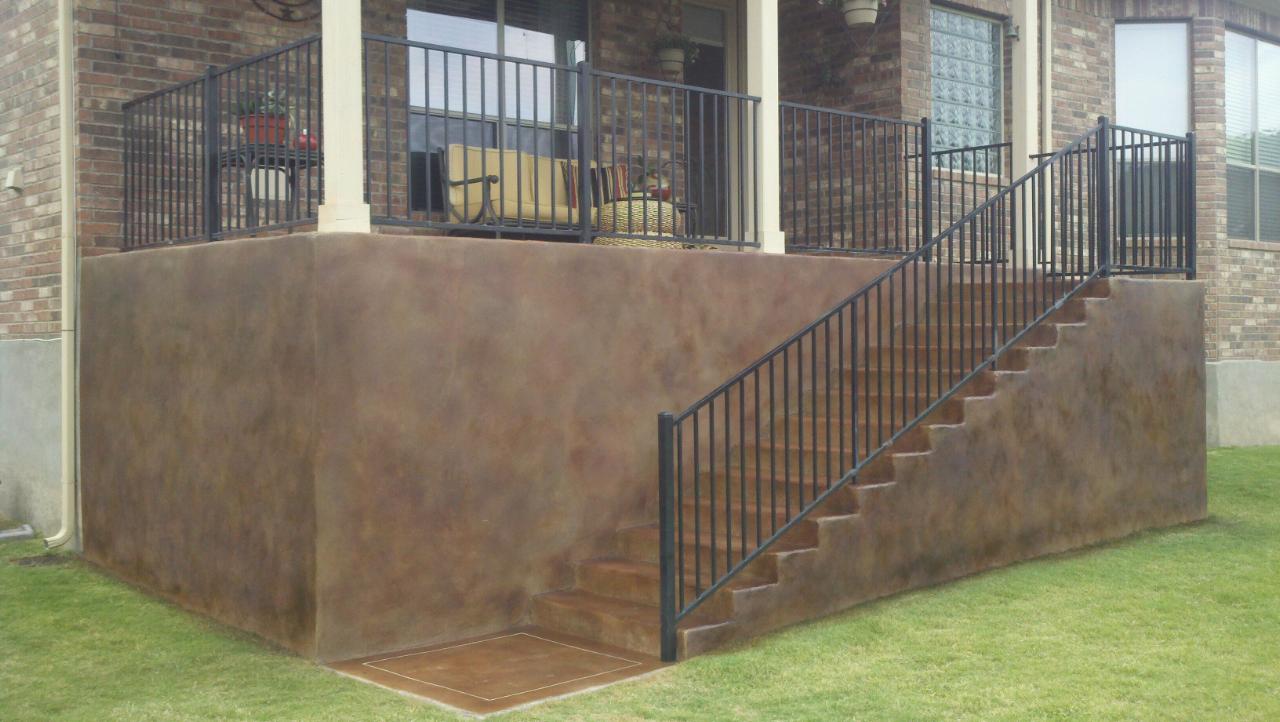
Adding color and style inside and out is easy with cement. Enhancing the look of any floor, patio, retaining wall or drainage ditch is effortless with colors ranging from pale earth tones to vibrate reds and blues. Special designs mimicking natural stones, bricks, pavers or wooden planks add interesting details to otherwise dull and boring areas. Each creation of art becomes a one-of-a-kind product for personal enjoyment.
Durability
Finished concrete floors last longer than vinyl, linoleum, carpets or rugs, and require little maintenance. Although high-traffic surfaces may need resealing every 2 to 3 years, most floors just require periodic cleaning. These unique products do not pollute the atmosphere with harmful odors or allergy-causing fibers, and can withstand quite a bit of abuse.
Natural Materials and Local Production
The major components of cement are limestone, gravel and water. In fact, the most abundant mineral on this planet is limestone. Although the cement mix is usually imported, concrete is mixed at a local plant, poured into a cement truck and transported only short distances. This process reduces the use of air-polluting fossil fuels.
Almost Waste-Free
Before cement sets, it is a thick mud. This mud flows into any framed space and fills the area. Experienced contractors carefully calculate the amount of product needed for their concrete designing projects and only order what they need. Therefore, there is a very small amount of waste with cement, unlike the huge pile of construction debris usually left over from building a house or office building.
Although the best reason to use concrete designing is the beautiful results, cement is a green product. Concrete floors last a long time and are virtually maintenance-free. However, durability is only part of the story, as this product is made from common natural resources, mixed locally, and used with little waste.
3 Concrete Designing Secrets
Using three concrete designing secrets guarantees success to any project. These secrets are color, different finishes, and highlighting/camouflage. Creating eye-catching, awe-inspiring concrete spaces is easy with this information, planning and the help of a professional concrete finisher like Easter Construction.
Color and How to Use It
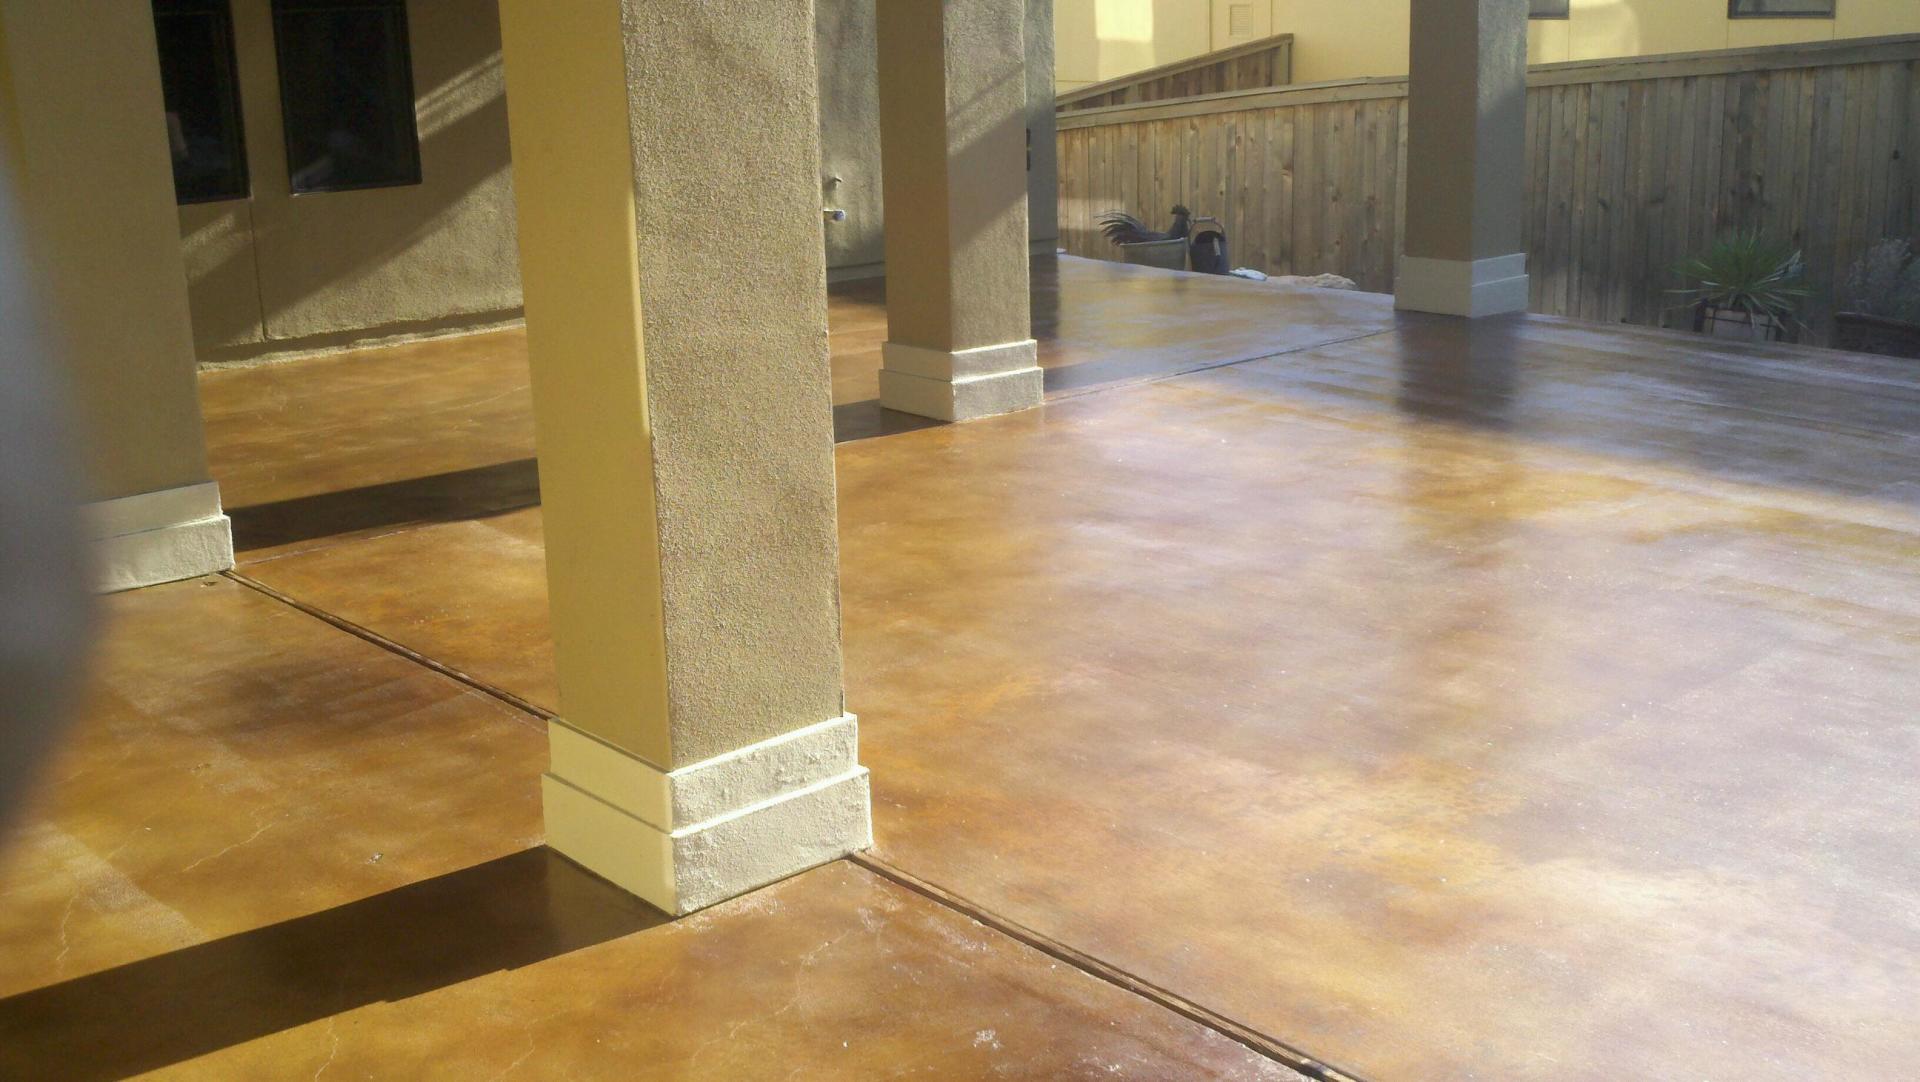
Concrete colors are no longer battleship grays. Today, consumers choose muted earth tones, metallic looks or vibrant rainbow palettes. Colors added during the mixing process are mellower, as this pigmentation colors all the concrete. However, surface stains and paint can be quiet or bold. The first step in concrete designing is to research the different hues available and consider the area to be created.
Finishes and Why They Matter
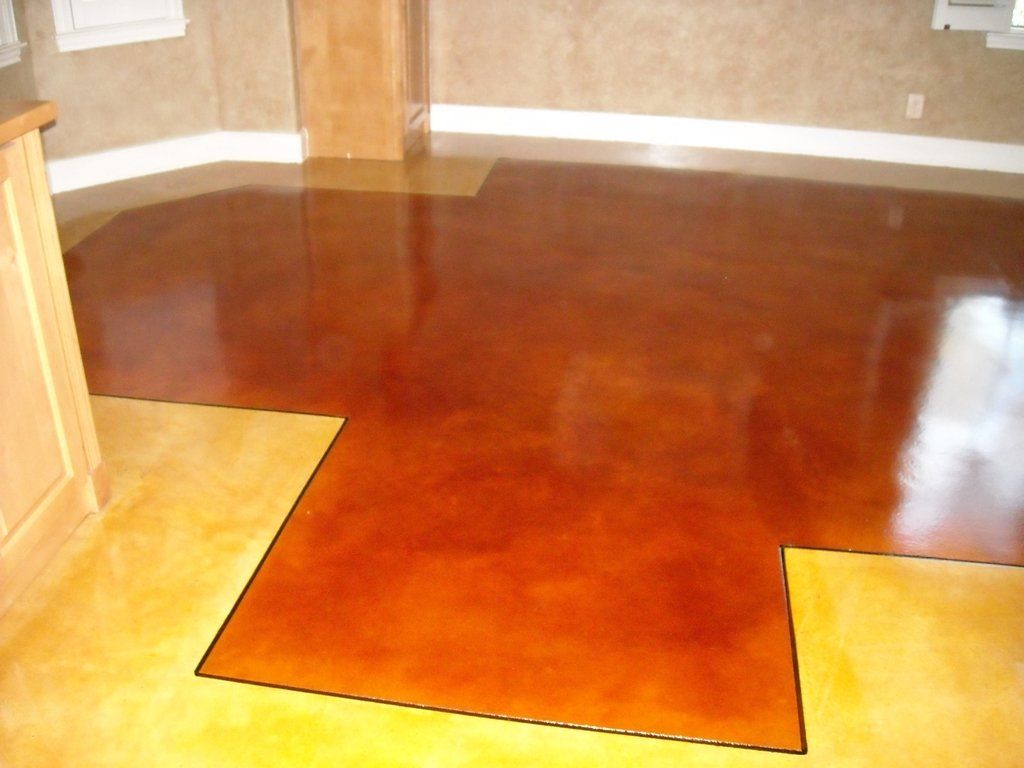
Because finishing products change color and gloss, demanding homeowners need to start here. Getting the perfect color with the integral color, acid stain or color hardener is cause for celebration. However, if that perfection changes once the floor is sealed, choices are limited. A matching color sealant spread over integral concrete intensifies the color while adding gloss. Chemical stains react better with clear coatings; these highlight the variation of pigmentation and add luster.
Highlighting and Hiding
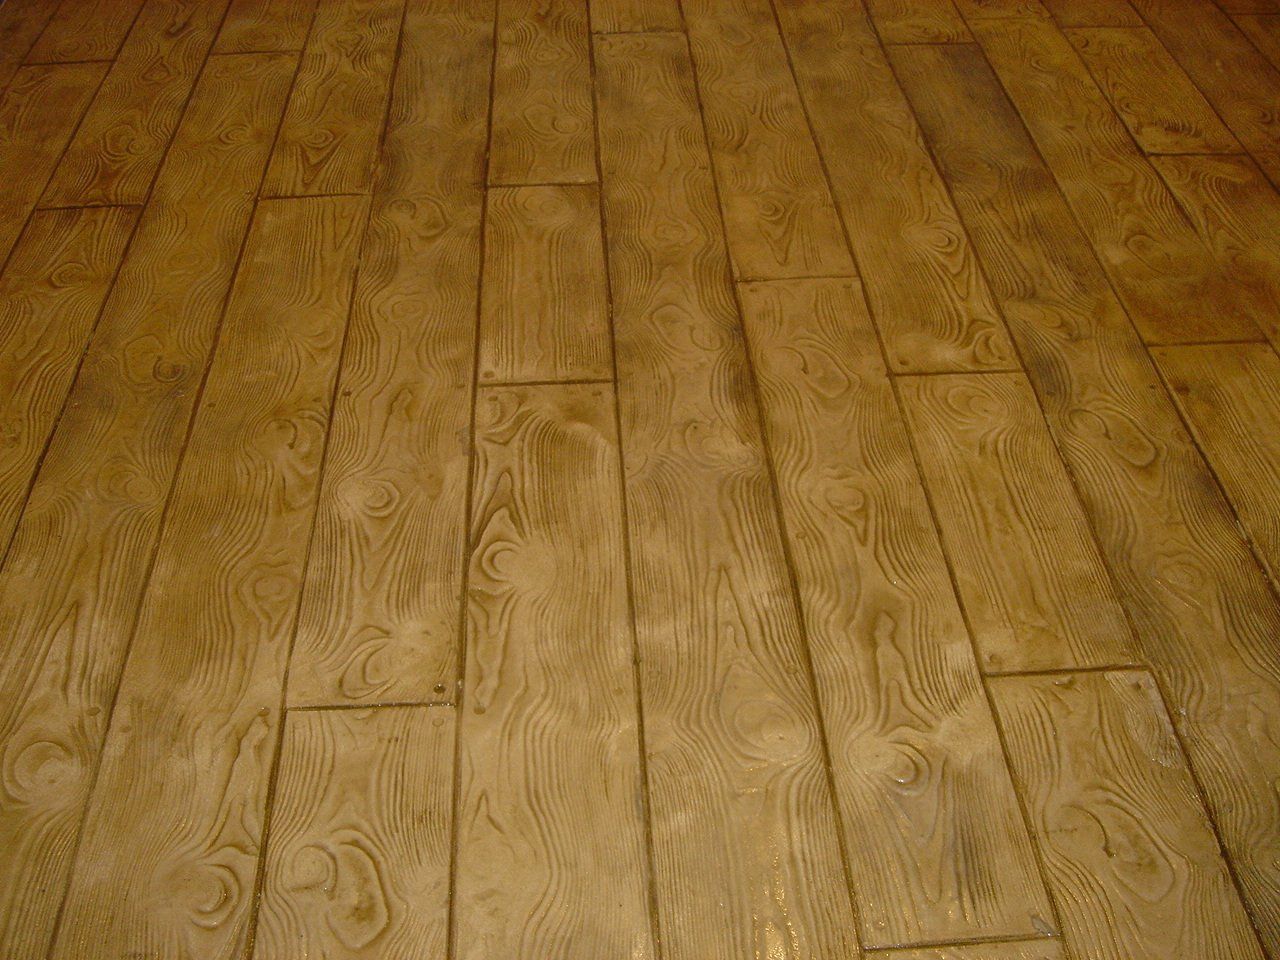
Accentuating certain areas allows other spaces to recede into the background almost unnoticed. A quick example is an ugly gray drainage ditch in the lawn; staining this nuisance green allows it to blend in with the lawn almost unseen. If the center of the living room features an intriguing design or picture, the too-wide hallway remains unnoticed. Lighter colors enlarge small areas and vibrant shades make huge areas feel cozier. Conversation areas enclosed in browns and warm beiges encourage sharing, while children’s play areas highlighted in blues, greens, yellows and reds promote activity and fun. A reading nook tucked in the corner by the fireplace finished with brown, stamped concrete planks feels rich and private.
Anyone can create the room of his or her dreams with research and planning. Unique and personal areas materialize almost magically. After all, with these concrete designing secrets, results are limited only by the imagination of the creator!
Colored Concrete Patio: Acid Stains VS. Surface Stains
Anyone installing or renovating a beautiful colored concrete patio has several decisions to make, such as what kind of stain to use. The easiest way to get the desired results is to use a simple three-step process. The first step is to decide on the final look you’re looking for. Next, consult a professional concrete finisher like Easter Concrete Contracting. After gathering the necessary information, choosing between an acid stain and a surface stain is easy.
Deciding on the Desired Results
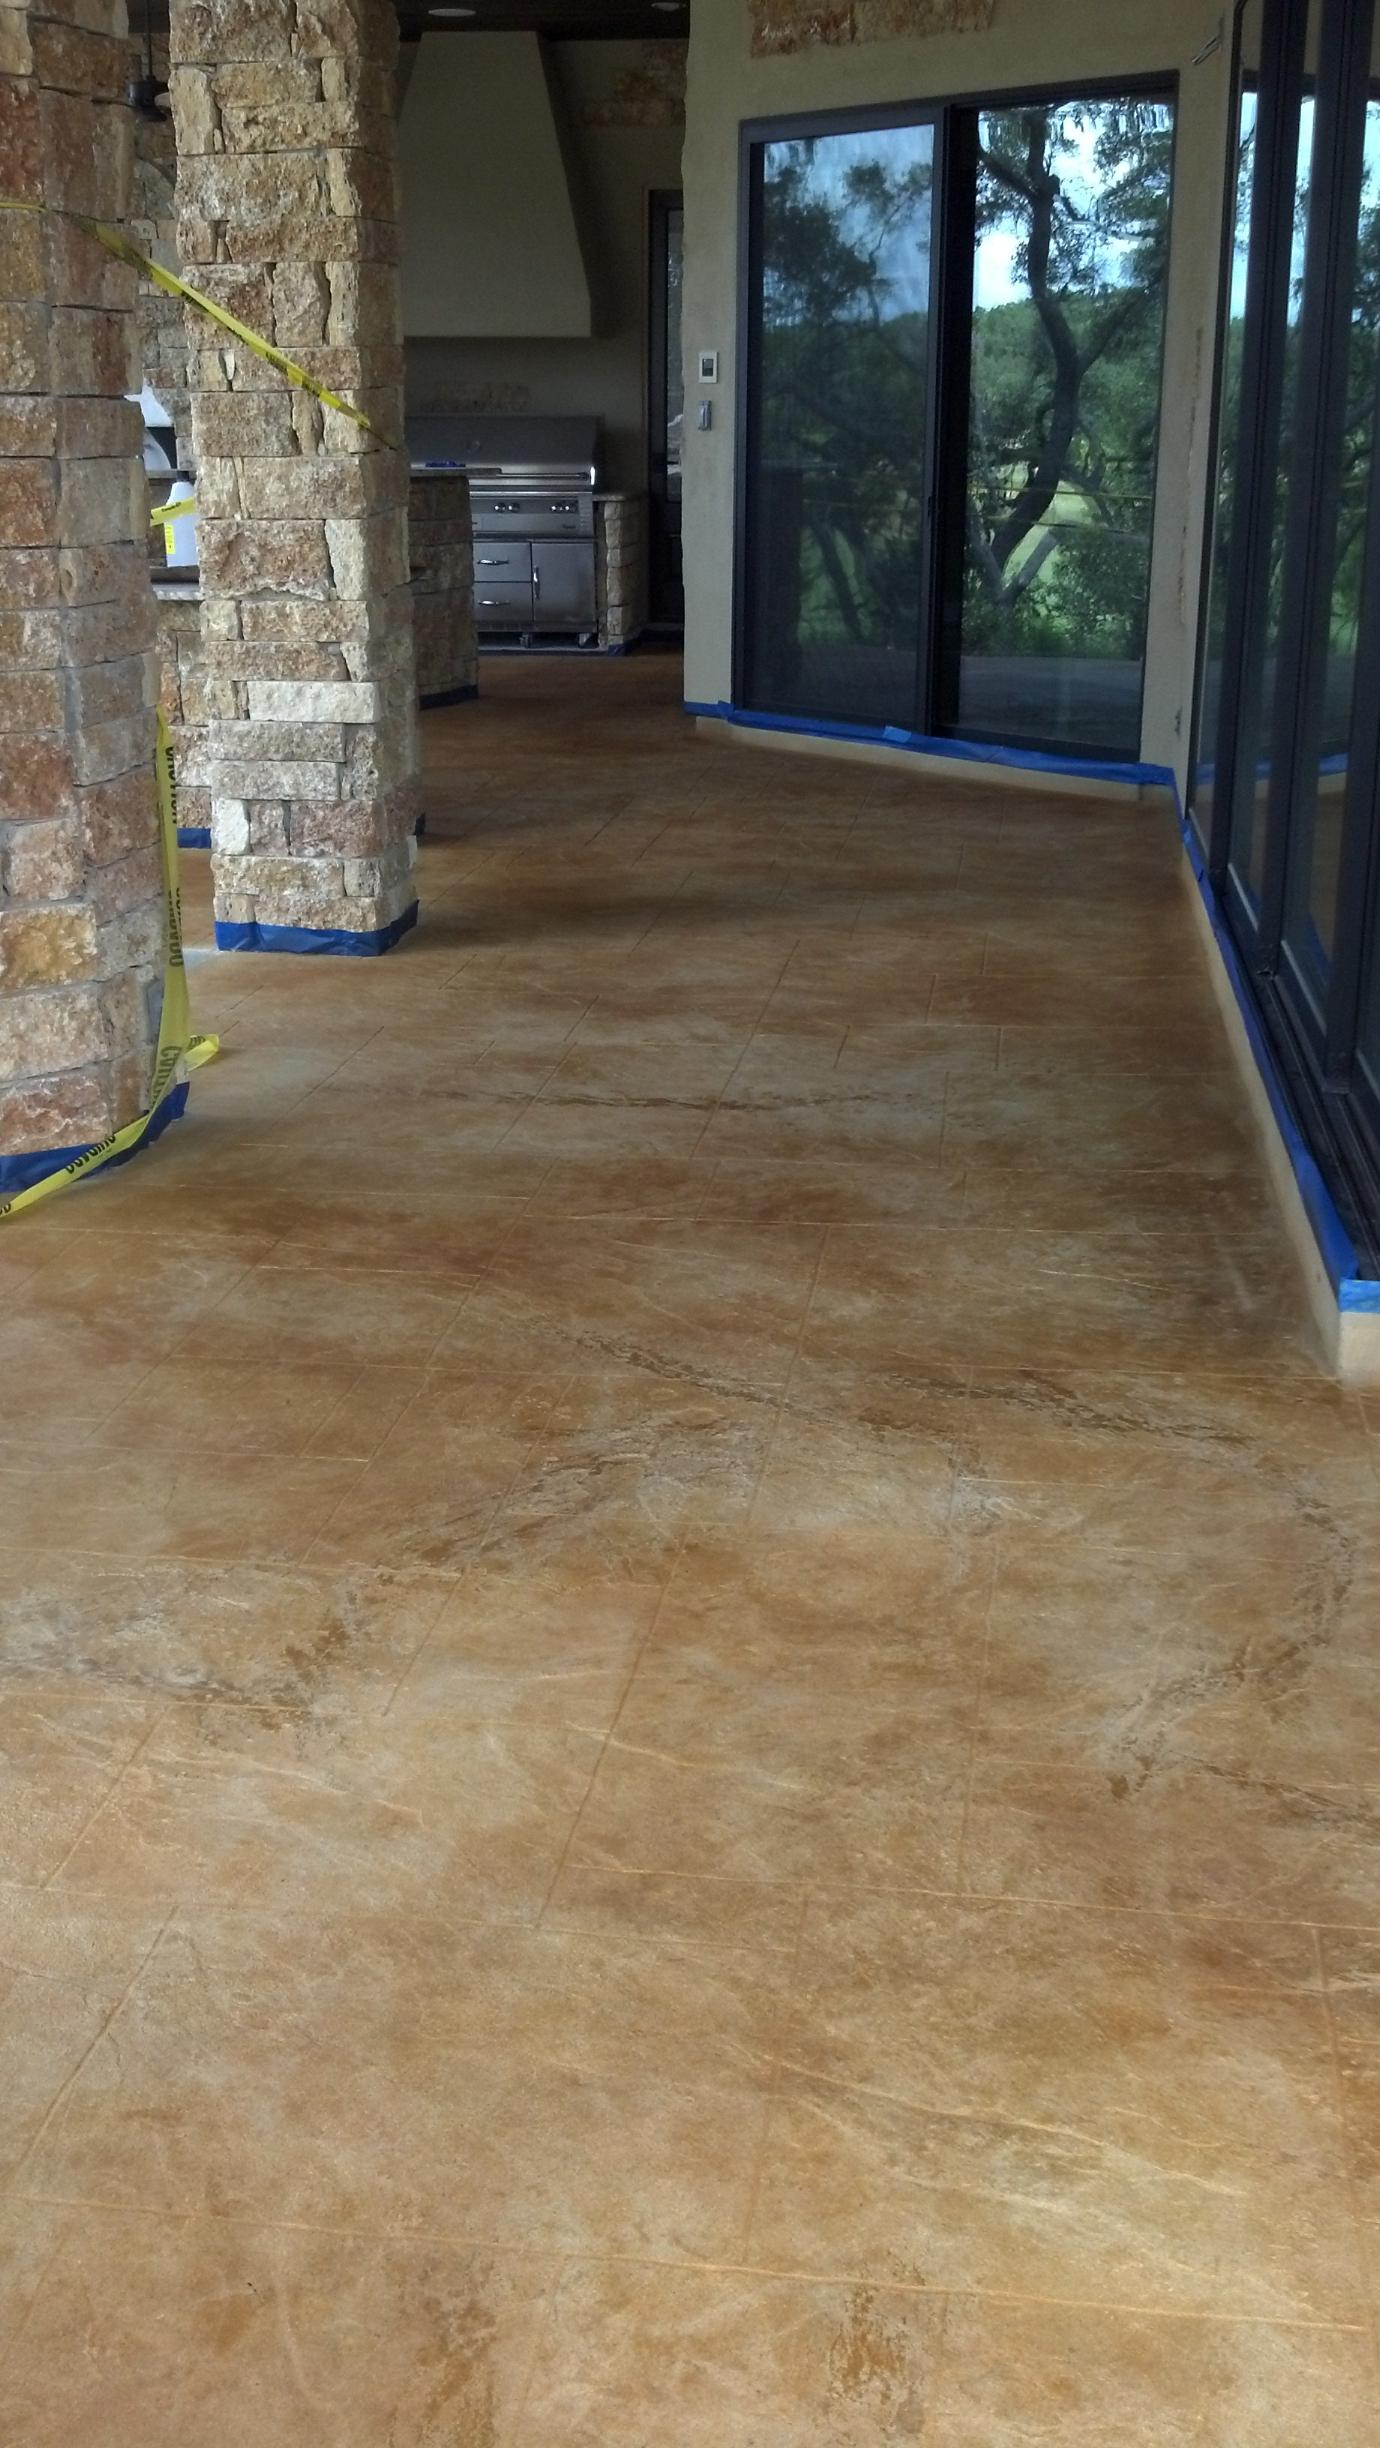
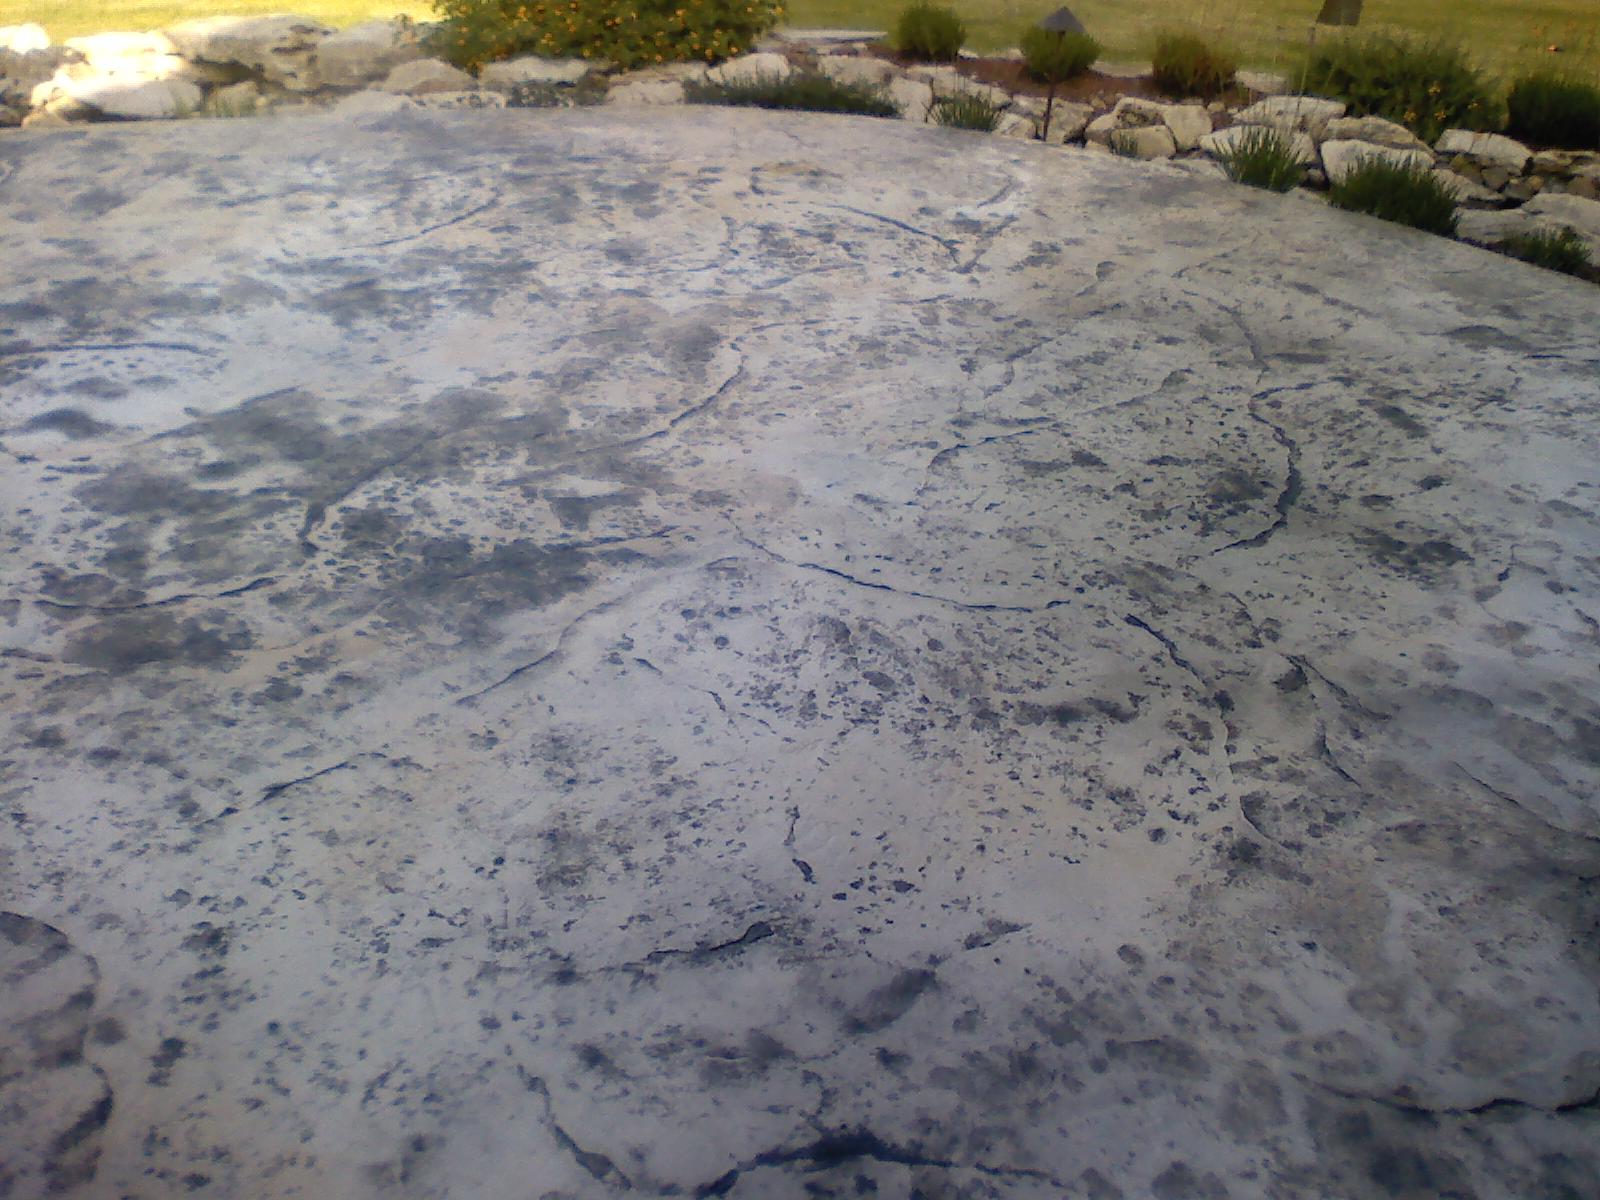
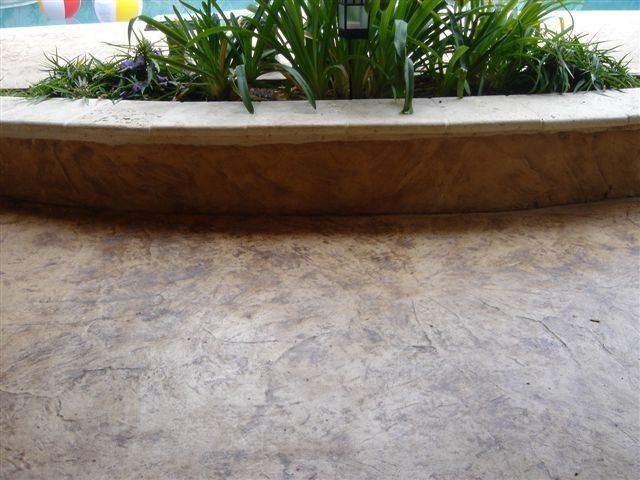
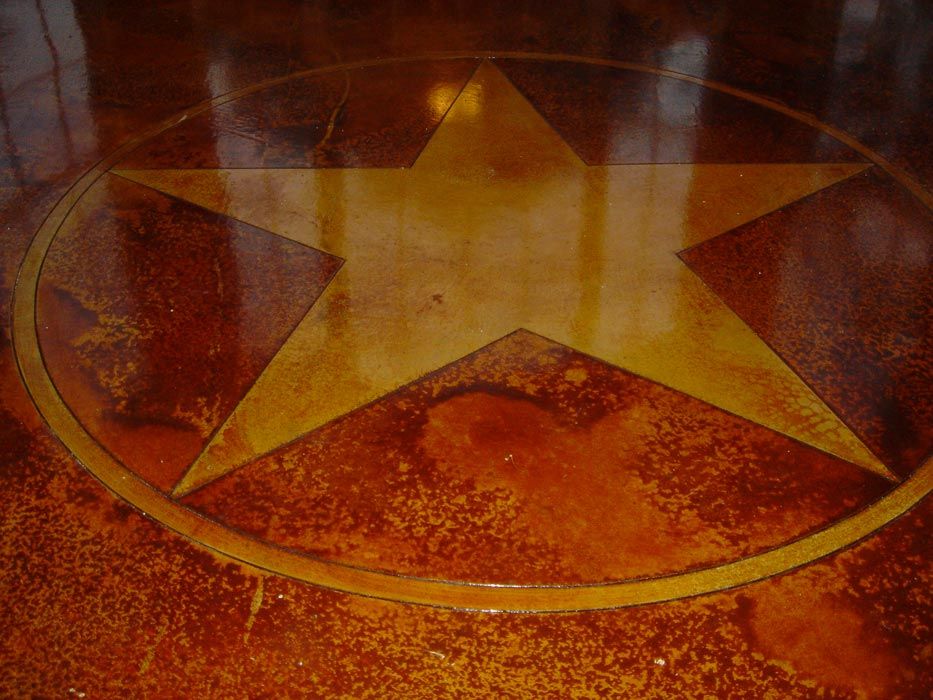
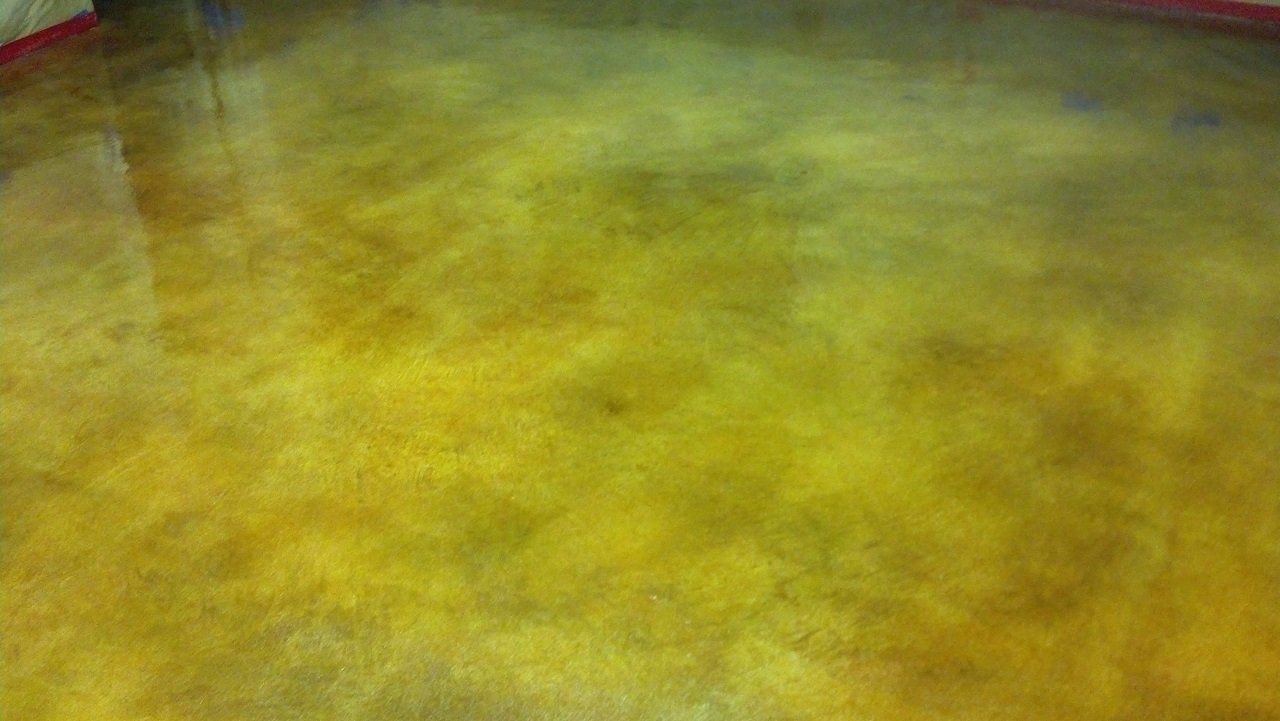
Acid stains produce mottled colors of different shades, while surface stains are uniform and predictable. Depending on a chemical reaction between the metallic salts in the stain and small holes in the concrete, the acid process produces vibrant bursts of color. The finished product resembles the imperfections in natural stone and can even produce a marble-like look. Surface stains simply penetrate the concrete, depositing their pigmentation in the open pores. These stains are popular because they come in a wide variety of colors.
Consulting an Expert
Of the many reasons to use a concrete technician, predictable results and educated suggestions are the best two. Since we deal with concrete daily, we know the right process to use. In fact, you can even see photos of other projects we’ve done. Based on our experience, we are qualified to make suggestions to improve your satisfaction with the final product. A trained color technician can look at an existing floor or the specs for a new concrete floor and predict the outcome with great accuracy.
Picking the Right Process
Choosing the right process is easy after consulting an expert and deciding what look you like best. Although the acid stain procedure requires neutralizing the floor to remove residue, the extra effort is well worth the unique results. However, the color choices of surface stains create dramatic statements. Whether you choose the uniqueness of the acid process or the uniformity of a surface treatment, you will be proud of the spectacular, durable results.
How to Pick Decorative Concrete Contractors
The skills of decorative concrete contractors
determine the quality of the work and the owners’ satisfaction with the patio, driveway, walkway or other projects. All great concrete installers of concrete have three qualities: they’re excited about concrete and its applications, have a thorough understanding of the process, and live in the area in which they work.
Concrete Excitement
Concrete is a durable, formable product that works for everything from foundations to countertops. With its exciting color capabilities, a concrete floor can look like a slab of slate, flagstone, or expensive, polished tile. Decorative concrete contractors love the versatility of the product and what they can create with it.
The Process
Easter Construction’s concrete experts can easily explain the whole process, from preparing the ground to sealing the new mud. This information includes the best temperature ranges for working and methods to deal with less than ideal weather conditions. Because we love our work and know what we’re doing, we willingly share information about potential problems like cracking and what steps can be taken to minimize or eliminate such issues. Most importantly, we prepare you for the construction process by carefully explaining any potential impact the project might have on your daily life during construction, and how we plan to minimize this necessary intrusion.
Local Knowledge
Local knowledge is gained by working or living in an area for an extended period of time. This information includes different soil types and weather conditions, like temperature ranges, sun, rain and snow. We take great pride in each and every one of our projects, and we won’t be satisfied unless it meets both our high standards for quality work and yours. That’s why we don’t accept payment until you give us the thumbs up on the project. We’ve worked hard to build up a reputation in San Antonio as experienced decorative concrete contractors; check out testimonials from past satisfied clients here.
Satisfaction with any project starts with choosing the right professional for the job. Easter Construction has expert decorative concrete contractors, and we love our product and the process of installing it.
Decorative Concrete Solutions for Inside and Out
Whether you are updating your current home or building a new one, concrete is a great way to personalize your space. It can take on the appearance of more costly materials such as tile or flagstone. Furthermore, it can be colored to suit your style. From a stunning kitchen to an eye-catching driveway, decorative concrete solutions allow you to customize your space.
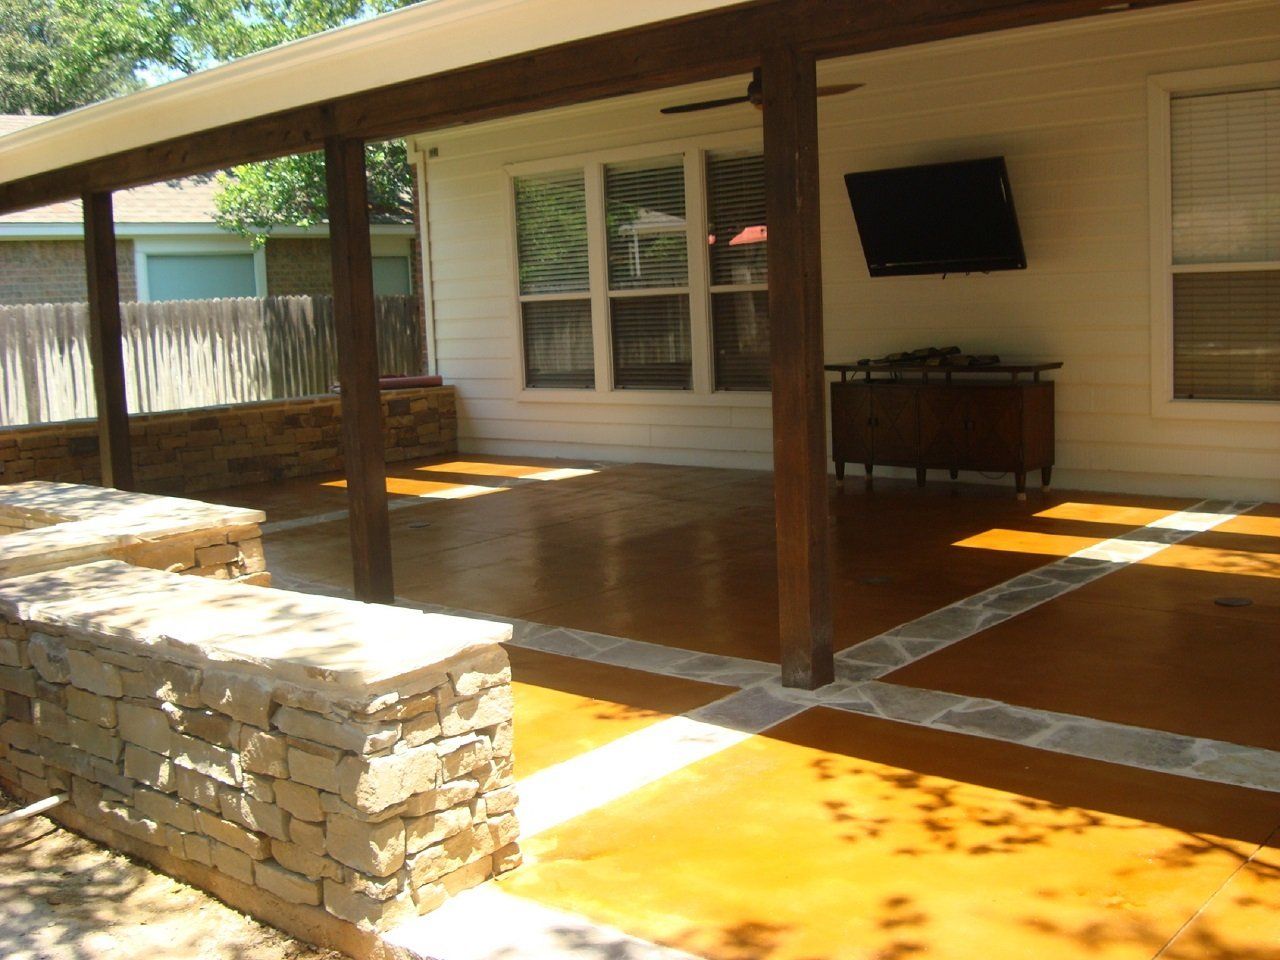
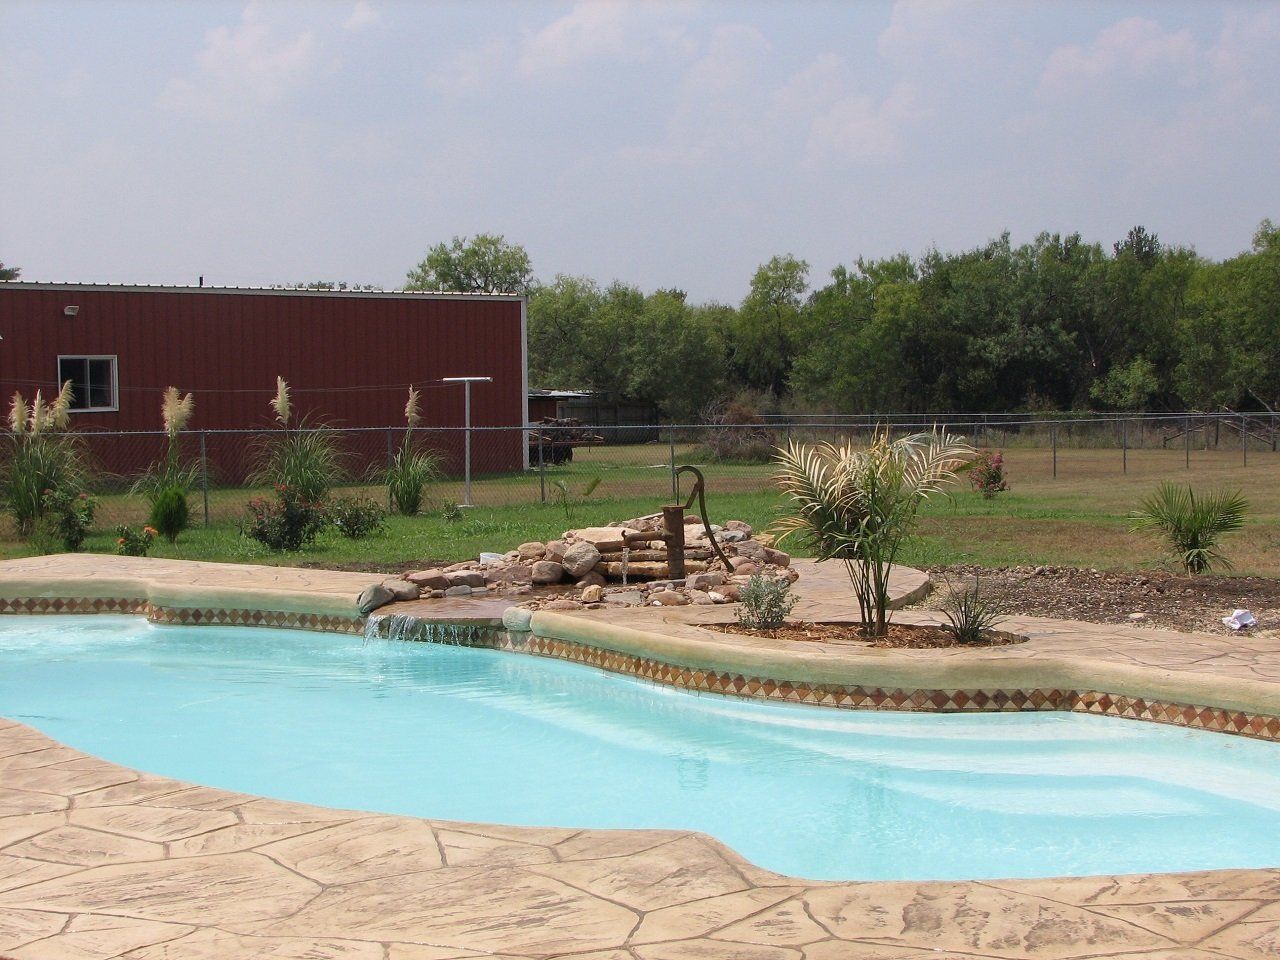
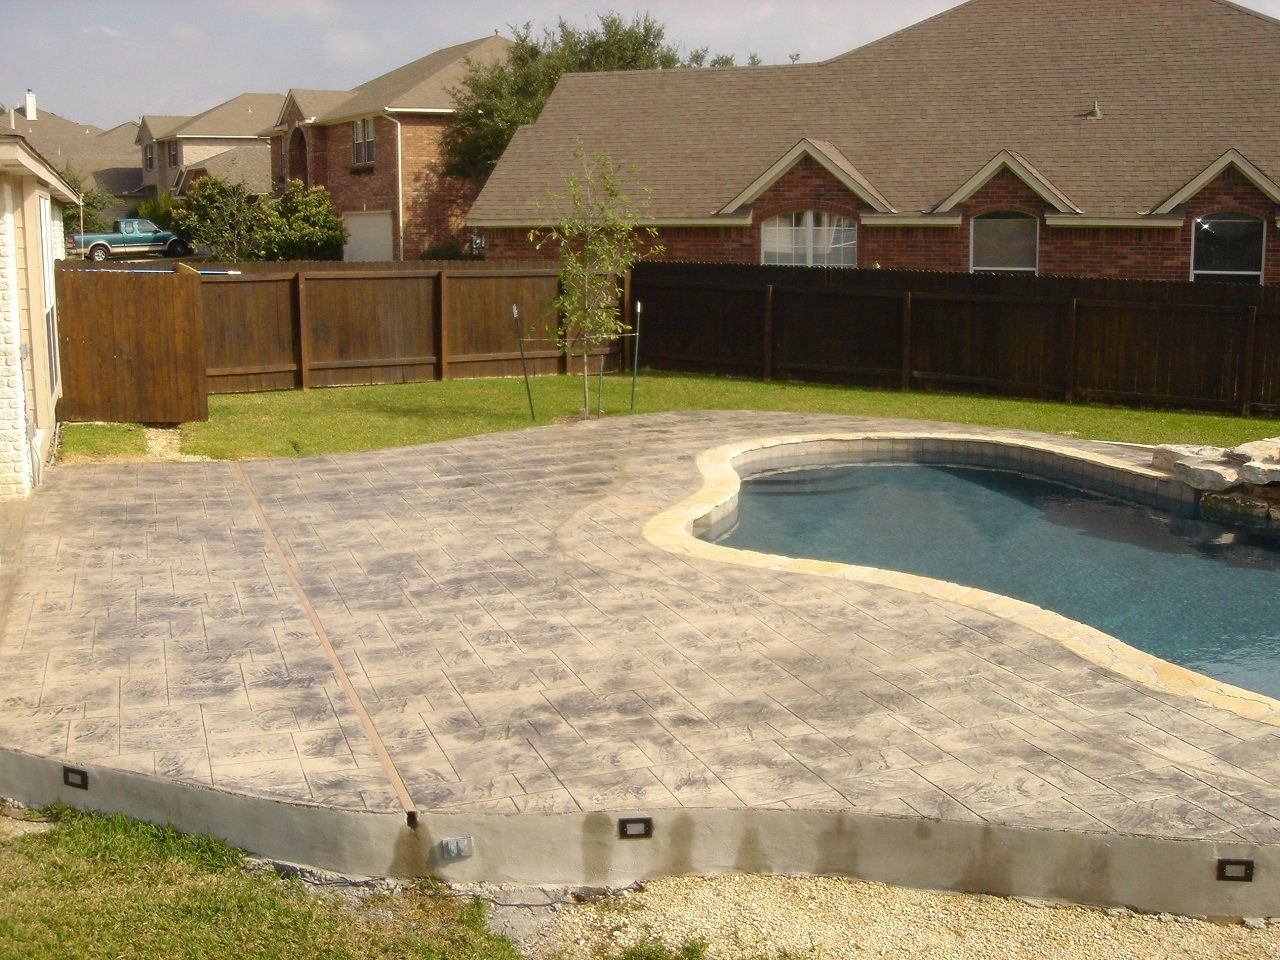
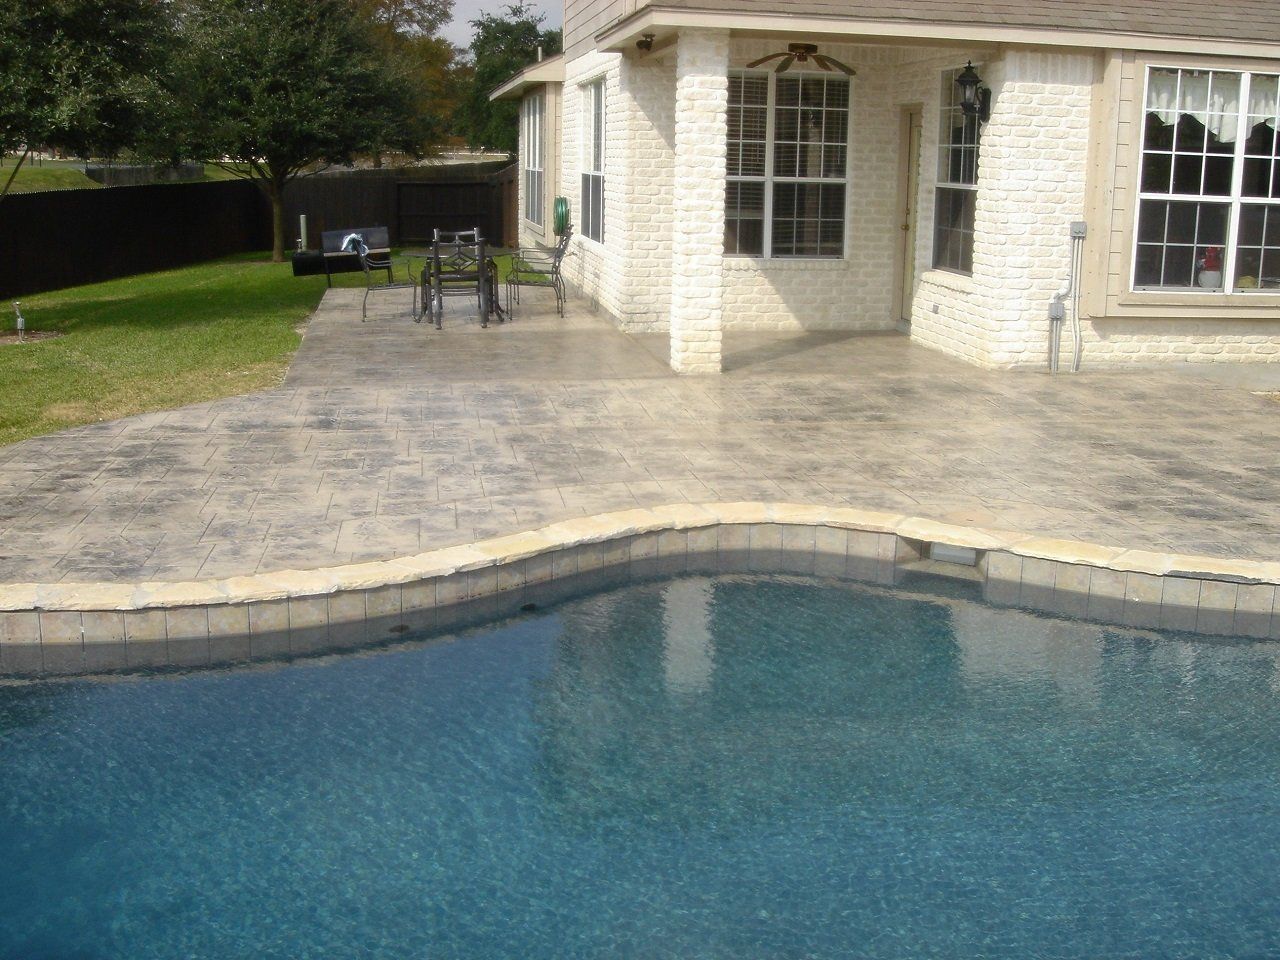
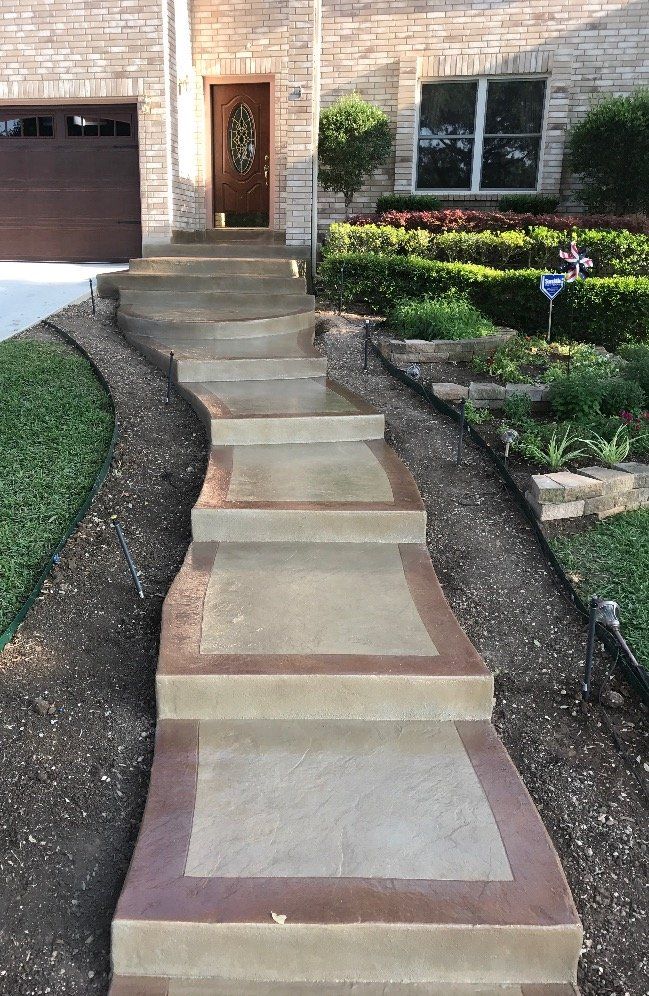
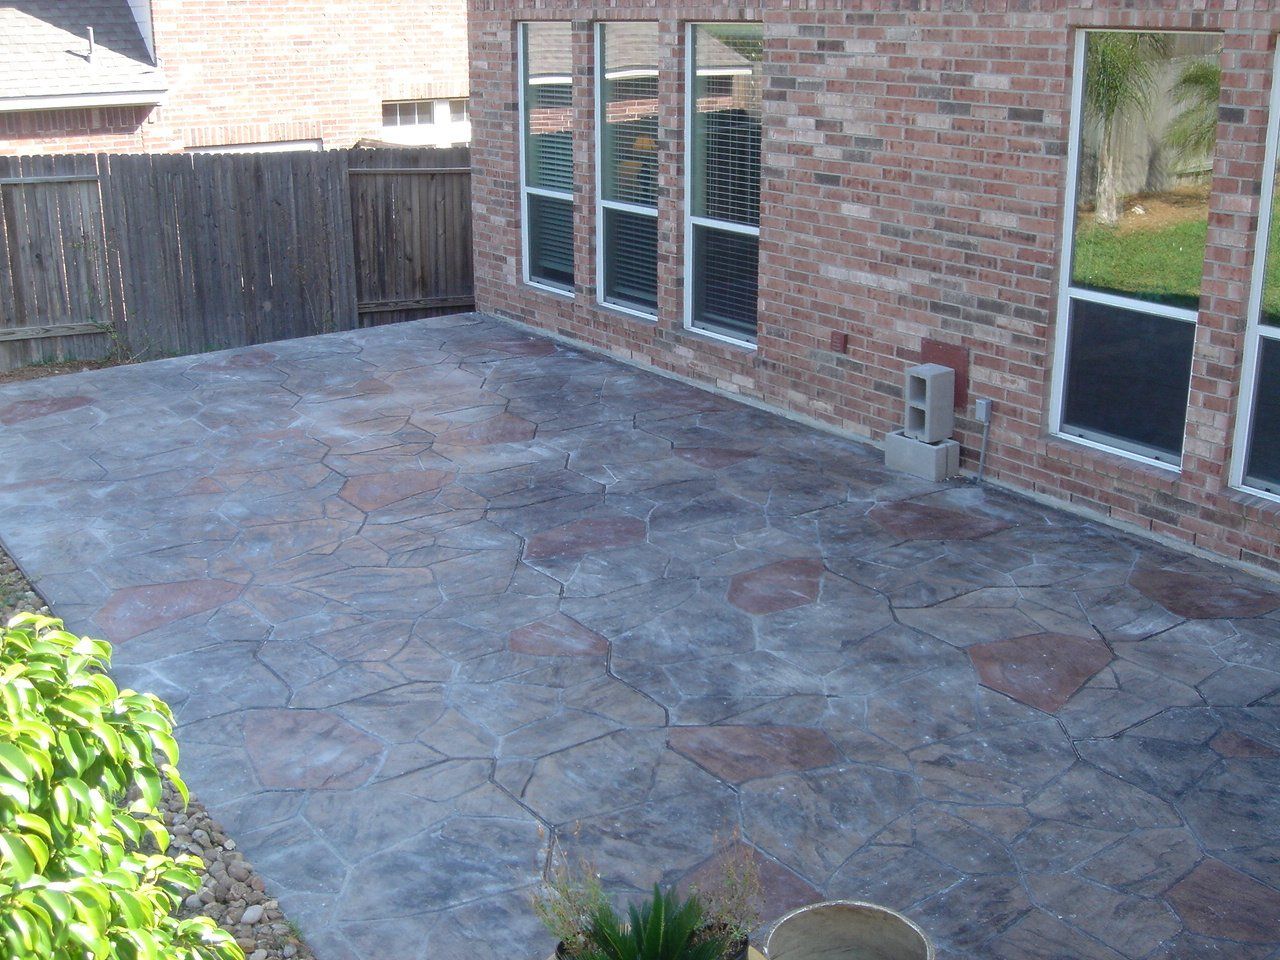
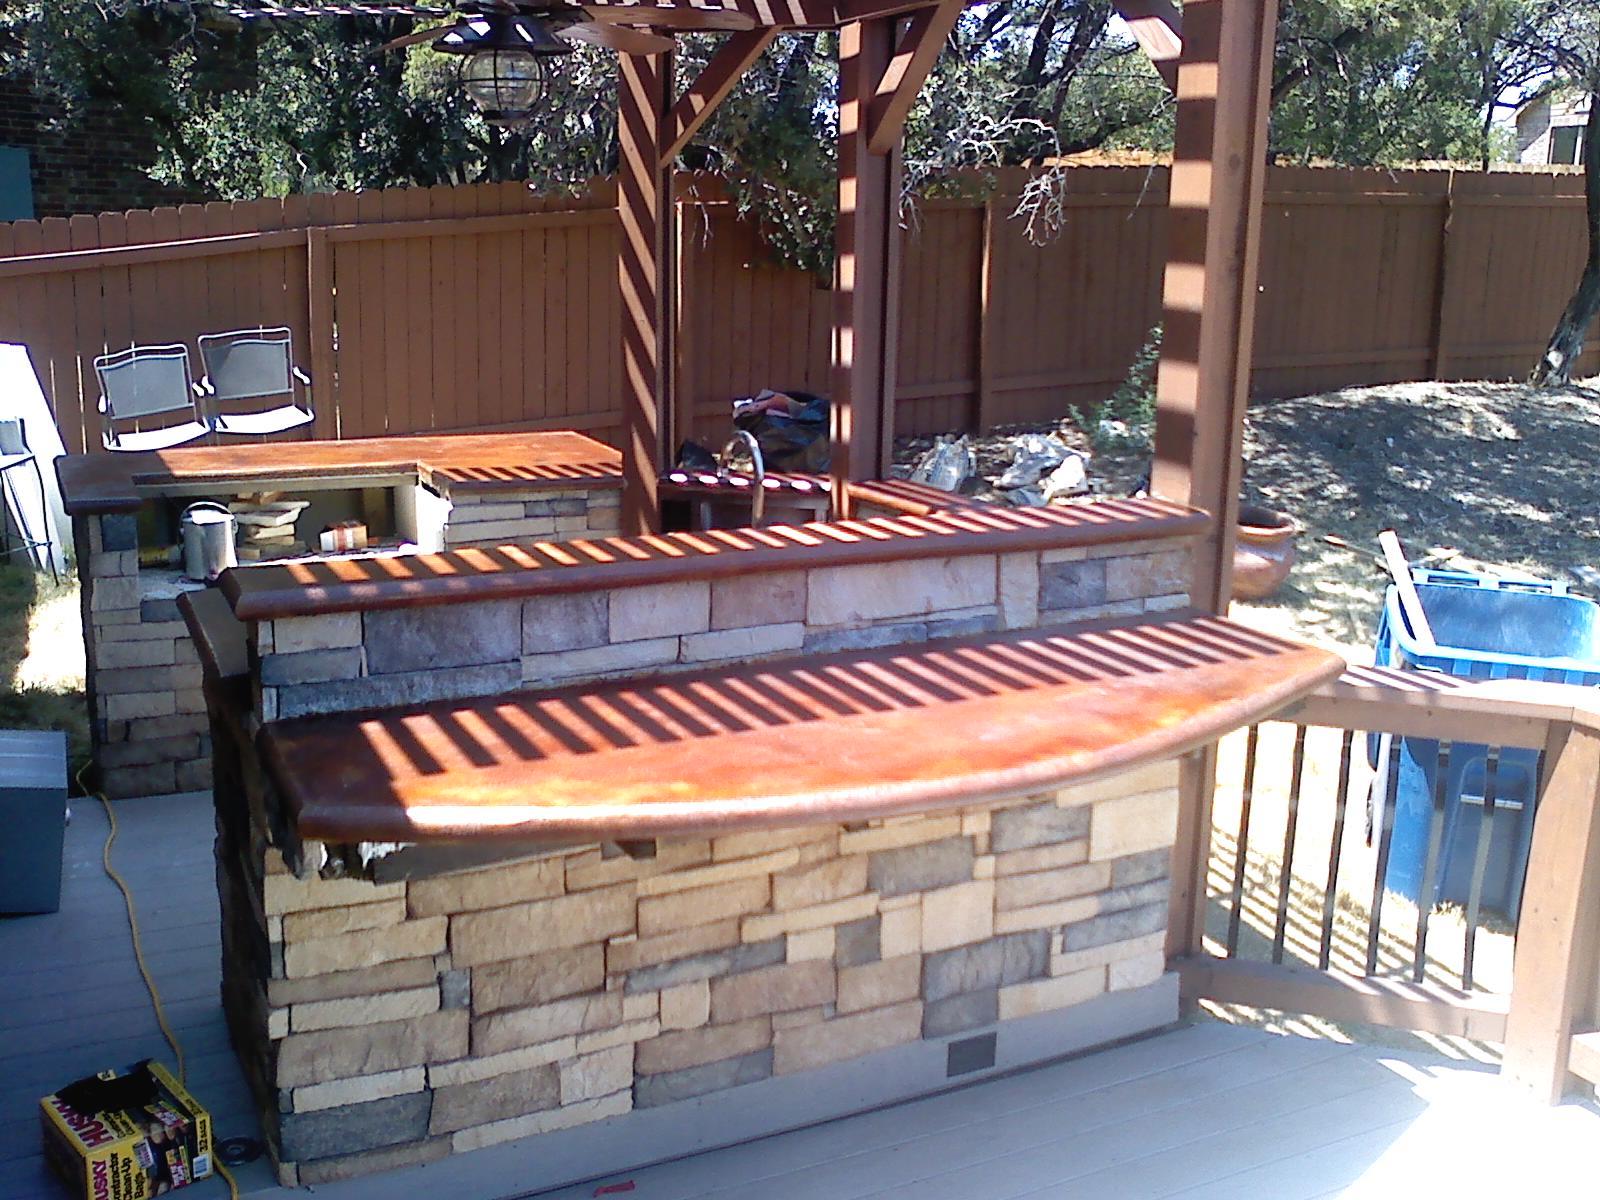
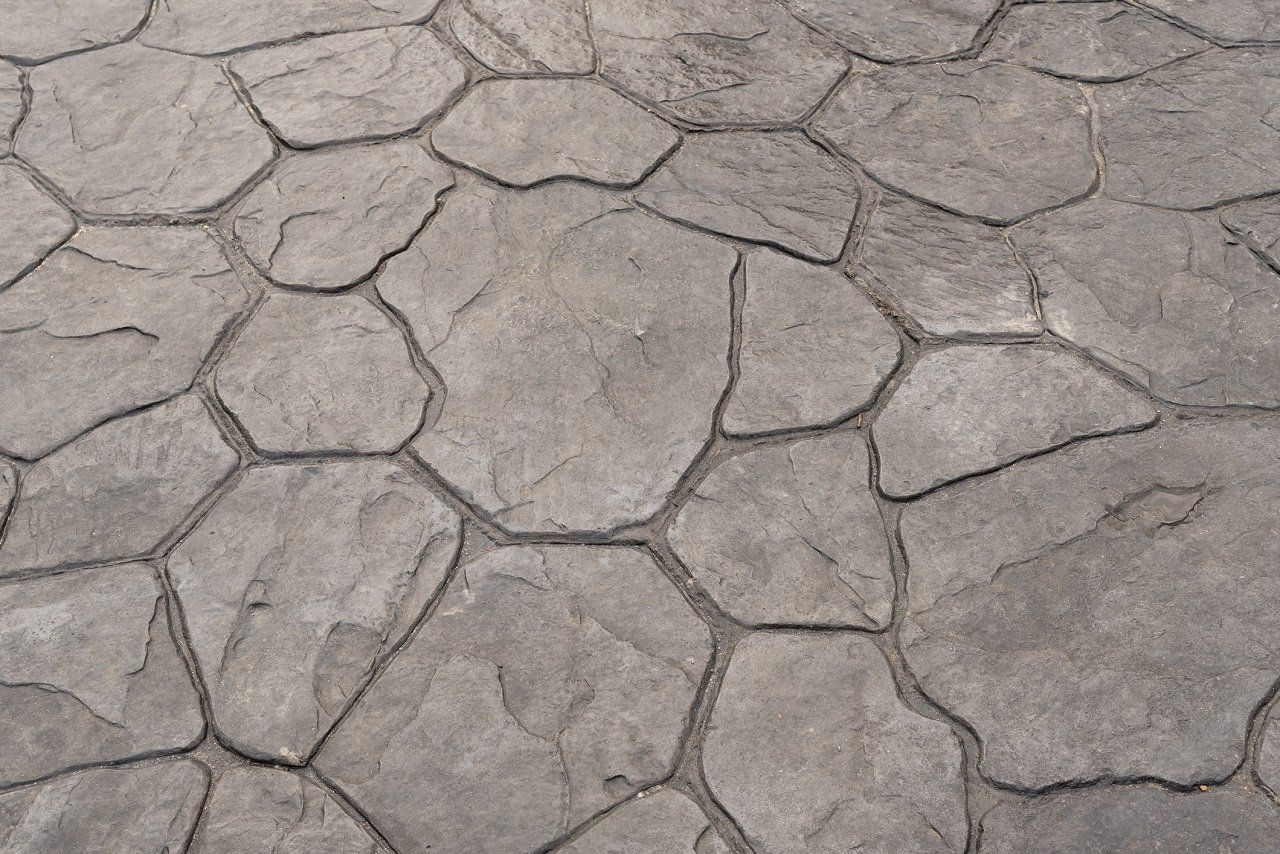
Colored concrete adds a vibrant element to your backyard, and many decorative concrete solutions are available for the outdoors. For instance, you can revitalize the look of your backyard with a stamped concrete patio that can have the appearance of flagstone, brick, or any pattern you desire. Turn your poolside into a luxurious resort by having colored concrete tiles or swirls installed around the rim. You can even have a gorgeous and fully functional outdoor kitchen installed.
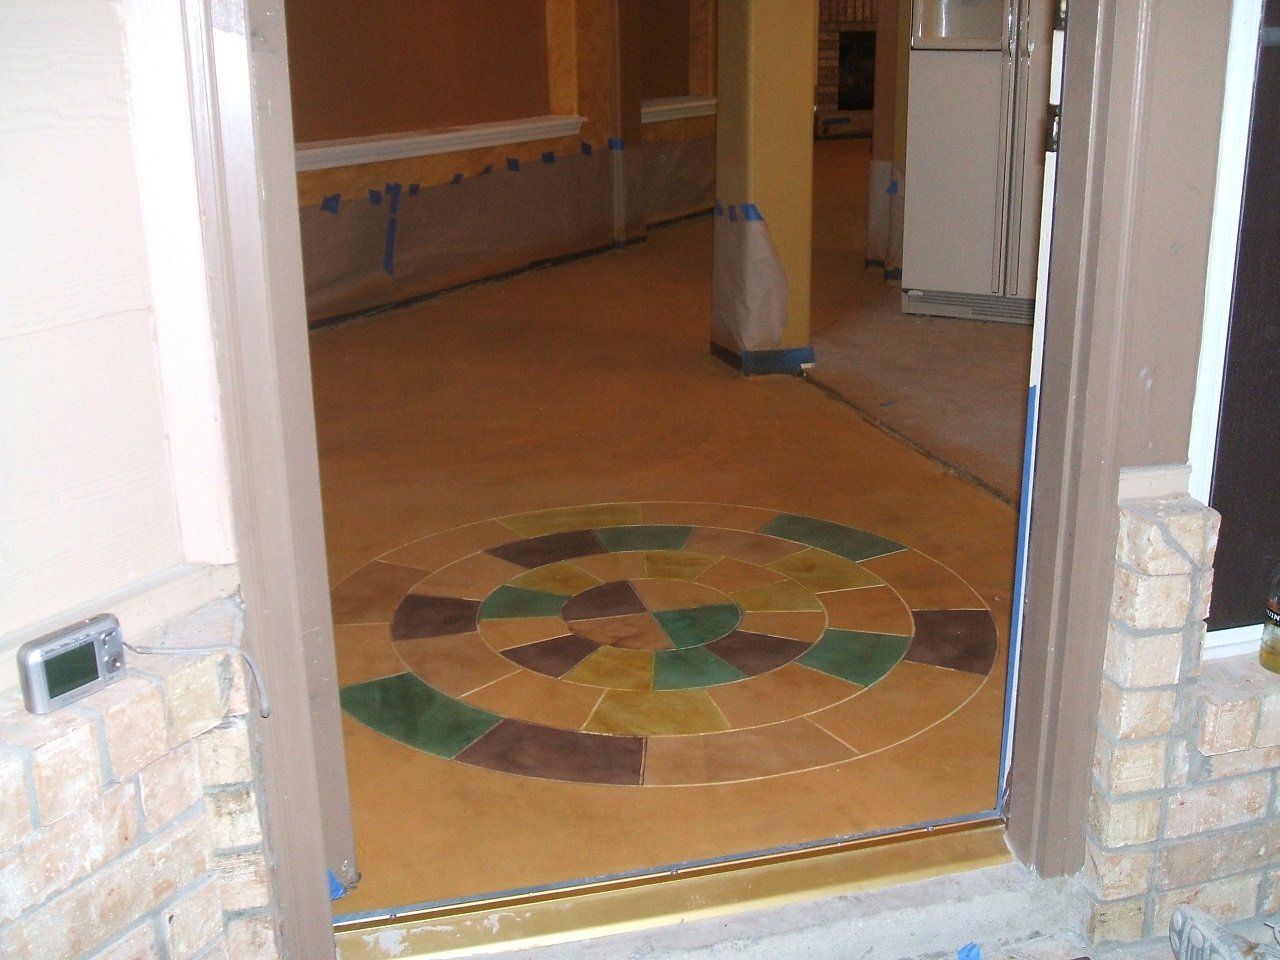
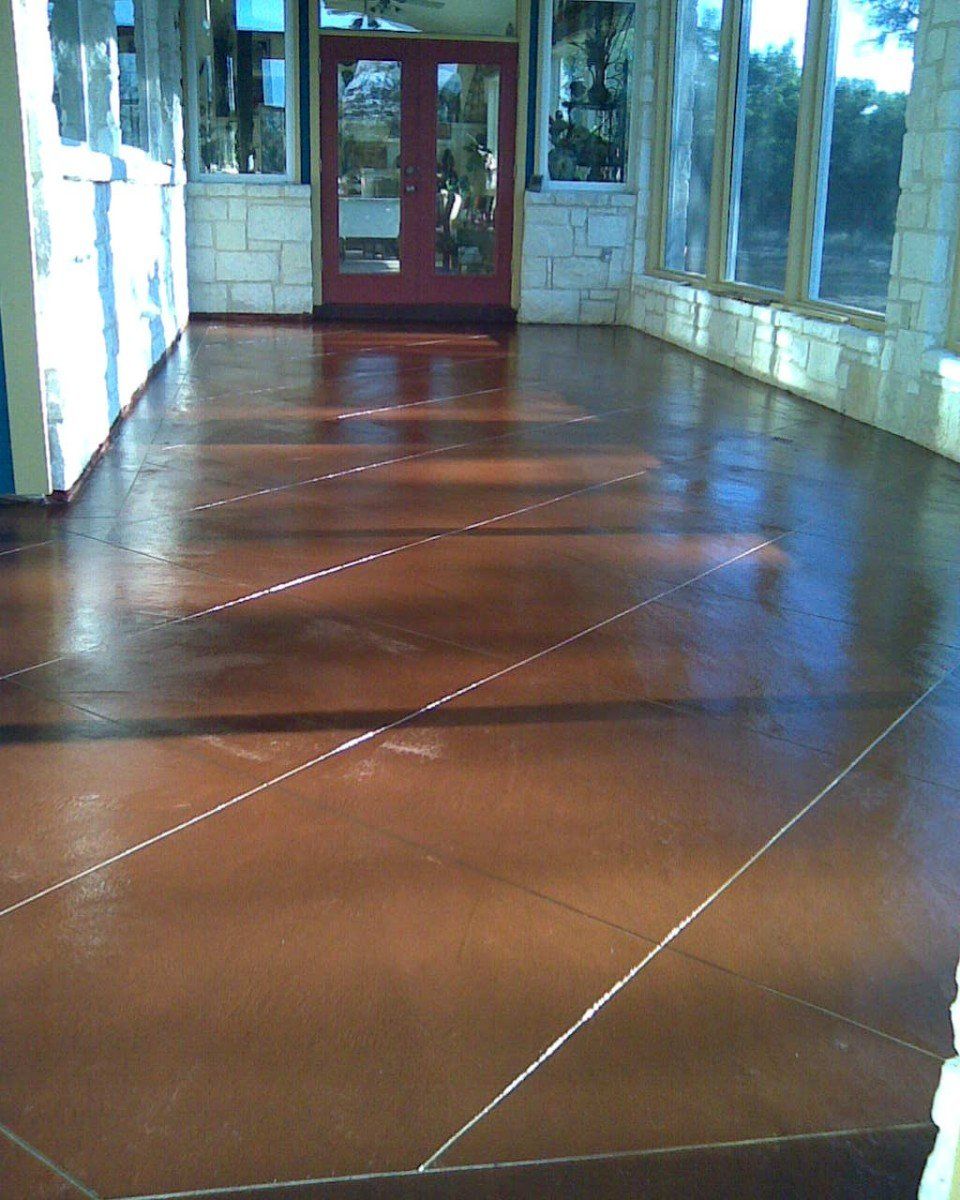
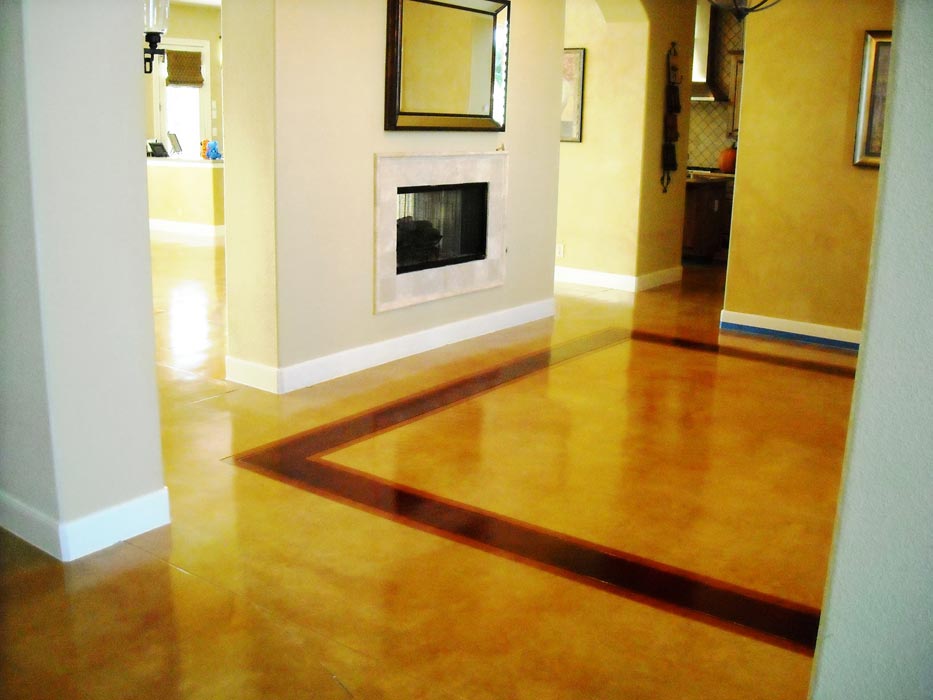
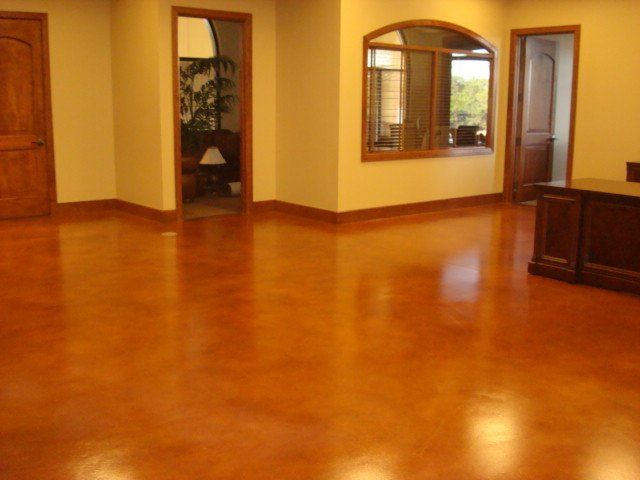
Concrete also is a great solution for indoor decorating. Your entryway can become a work of art with the installation of colored and stamped concrete; the glossy finish catches sunlight and offers your guests a stunning first view of your home. Stamped concrete even can be installed in the pattern of a large rug, with a decorative border running the perimeter.
Decorative concrete solutions also exist for your kitchen. A breakfast nook in a darker shade than the rest of your kitchen sets the area apart as a cozy place to enjoy meals. Update your backsplash with stamped concrete for a beautiful design – without the cost of tile.
Inside or outdoors, decorative concrete solutions provide a beautiful way to personalize your home. Create your perfect home at an affordable price with decorative concrete solutions from Easter Concrete Contracting.
Choosing Stained Concrete Colors
From the driveway to the backyard, and for kitchens indoors and out, stained concrete colors
provide a durable way to decorate. You can have the appearance of flagstone, brick, or tile, but at a much lower cost. And if traditional looks aren’t quite what you’re going for, stained concrete colors are a perfect way to fully customize your space. Easter Concrete Contracting has numerous decorating solutions for your home.
For the backyard, stained concrete colors
in earth tones can complement the greenery. You can even add tones to make it appear that a large rug has been laid over a section of your backyard. A black border with a brightly colored interior can make your outdoor living area stand out. Two or more different colors of concrete in a tile pattern around the edge of your pool can create a stunning display. You also can match your yard furniture to the concrete colors in your outdoor haven.
Stained concrete colors are an amazing solution for indoor decoration as well. Instead of a boring wallpaper backsplash in your kitchen, you can have vibrant, easy-to-clean concrete above your countertops. Colored stamped concrete also can create or enhance a breakfast nook, and you can have it stained and glossed whatever color matches your personal style. Embellish your entryway with colored concrete, and save money on tiling while making your floor a work of art.
Fresh concrete is moldable and easily dyed any color. The dyes can be mixed in with the wet concrete before it is poured, or the color can be applied to the wet concrete after pouring. A colored or clear gloss is then applied to protect the surface and make it shine.
Whether you are installing concrete in a new home or updating the look of an older home, stained concrete colors are a unique and affordable way to display your style.
What is a Stamped Concrete Overlay?
A stamped concrete overlay is a quick facelift for problem areas. The overlay puts a thin skin coat of cement over old or damaged finishes and embellishes the surface with a beautiful new pattern. Since this procedure can be done in many different colors and patterns, the stamping process is a quick way to beautify, update or enhance any surface.
What is a Skim Coat?
The topcoat, or skim coat, is made up of a secret ingredient, concrete mix, normal aggregate and color. This secret ingredient is usually a polymer, which is glue that bonds the new concrete to the old surface. This acrylic-type glue adds strength and flexibility. Other chemicals are added as needed. For example, if the area has dips, a leveling additive can smooth out the surface. Usually, installers need a bit more time to perfect patterns and add drying retardant. Mixture consistency can be controlled and drying time shortened. Although lightly-tinted shades of greens, browns, pinks, reds and whites have been popular for years, bolder, more vibrant colors now attract imaginative homeowners.
How Do You Add a Skim Coat?
A 1/4” to 1/2" layer of this special mud is troweled or sprayed on the surface; the depth will depend on pattern requirements. The carefully selected pattern is imprinted across the area and allowed to dry. This process immediately turns ugly, dull concrete into fresh, vibrant works of art at little cost.
How a Stamped Concrete Overlay Can Spice Up Your Backyard
A stamped concrete overlay is a face lift for worn-out, dull concrete. These innovative products create many exciting new looks, and go on fast. Best of all, these are much cheaper solutions than removing and replacing ugly concrete patios, sidewalks, retaining walls and pool decks. Whether a homeowner wants the look of natural flagstone, wooden planks, slate, granite or other special designs, these desires can easily be accommodated.
Innovative Products
A new layer of cement material covers the old concrete in a thin layer, anywhere from ¼ inch to several inches thick. By blending different polymer resins with a mixture of cement, sand and other additives, the new mud creates a bond with the old material. Although these products are designed to be durable and resist salt, UV exposure, chemicals, abrasion and freezing conditions, it is their beautiful, fresh look that appeals to homeowners.
Sparkling and Attractive
With this process, aged concrete becomes new and vibrant again. Homeowners choose the stamped concrete overlay they want in the color or colors of their choice. When a flagstone pattern is used, the results are so realistic visitors will swear they are walking on stone.
Easter Concrete Contracting experts know how to work with this product for the best results and pride themselves on their techniques and customer satisfaction. These professionals have many different designs for their customers to choose from. However, they also offer customization. If a homeowner wants a patio designed with wide white borders around natural gray and blue river rock centers or a retaining wall covered in a faux red brick, their wish can be granted. Because the product is so versatile, almost anything can be done.
There is no reason for homeowners to suffer with plain Jane backyards when they are dreaming of a patio covered in fabulous slate. With a stamped concrete overlay, patios and other areas can go from drab to fab almost overnight. This new layer of cement solves most problems.
Design Ideas for Stamped Concrete Overlay
A stamped concrete overlay is a unique decorating opportunity. The ugly, old stained patio will soon be gone forever, hidden under an attractive, durable coat of new mud. There are so many choices that many homeowners find themselves overwhelmed. An easy way to start this process is to pick a color or design. Everything else seems to fall into place once you’ve settled on a color or design.
Color
Colors range from muted earth tones to vibrant blues, greens, pinks and reds. The patio can blend quietly into the natural outdoor landscape or be an oasis of color and interest. For a unique look, try a combination of colors. Highlighting an outdoor kitchen in green and children's play area in blue create splashes of color and energy. Surrounding the hot tub with a light tan keeps this space private and relaxing.
Design
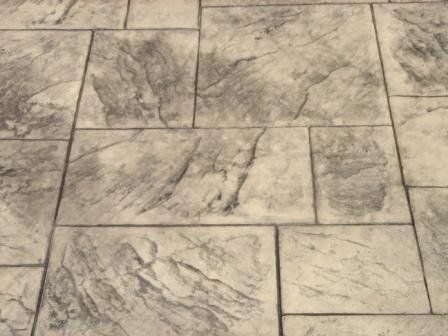
Design choices are almost never-ending, but the most popular selections mimic natural materials. When you have a professional install your stamped concrete overlay, you’ll believe you’re walking on a carefully installed flagstone, granite or slate floor. These faux stones are irregular in shape and multicolored, just like real slabs of rock. Western wooden planks include the normal imperfections found in trees; these stamped boards give a wood-floor look without the constant maintenance that comes with the real thing.
Mexican tiles, cobblestones and bricks add fun to these outdoor spaces. Some areas work well with uniform looks like herringbone in carefully arranged rectangles. For a softer image, others choose the English fan or double fan designs.
These imprints can be placed anywhere you want. Although most patios are covered in a single design, there are no hard and fast rules. Different stamps can be used in different areas; stamps can be the focal point, with a surrounding border, or the stamps can be used to accentuate a plain center.
As far as we’re concerned, there’s only one rule with stamped concrete overlay—make the homeowner happy. After all, with all of these color and design options to choose from, you can easily create a just-for-you patio space.
Stamped Concrete Driveways Increase Curb Appeal
Your driveway is the gateway to your home. A cracked and ugly driveway can make even the most beautiful home appear shabby. Even asphalt driveways that are well maintained are not nearly as attractive or as durable as stamped concrete. Your home is your castle—make it look like one! Stamped concrete driveways are works of art that set your home apart from the rest of the neighborhood.
Easter Concrete Contracting provides stamped concrete driveways in several colors and designs to create an eye-catching path. Stamped concrete can resemble bricks, giving your home a sophisticated boost to curb appeal. For something different, scrollwork and artistic patterns are available. You can match or contrast your home’s paint job to the color of your driveway. If you have a backyard patio, concrete porch or garden walkway, the options for creating a congruous look increase. Stamped concrete also provides skid protection for the icy months. Your driveway will not only be easy on the eyes—it will be safer, too.
If you are not looking for a brand new driveway, but your current drive is cracked and ugly, stamped concrete is a great way to repair damage while increasing your curb appeal. We apply a coat of concrete over the cracks, along with a special resin. We can then stamp whichever design you choose over the problem area. This solves the issue of cracks, while increasing the aesthetic appeal of your home.
Whether you seek an artistic driveway for a new home, or simply wish to fix unsightly cracks, stamped concrete driveways provide an eye-catching solution. Easter Concrete Contracting has the expertise to get the job done to your satisfaction. Increase your curb appeal affordably, and revel in the beauty of a unique and beautiful driveway.
At Easter Concrete Contracting, we're large enough to handle all your concrete and construction needs with expertise and experience, yet small enough to value and appreciate each individual project
BROWSE OUR WEBSITE
OUR SERVICES
Content, including images, displayed on this website is protected by copyright laws. Downloading, republication, retransmission or reproduction of content on this website is strictly prohibited. Terms of Use
| Privacy Policy


